I have dreamed of becoming an underwater photographer for a while, but in Wellington? Well, um…that’s a cold gig. I’m into it though! Really. It took me about a year to acclimate after spending 4 years in Thailand, but I’m finally ready to freeze then reward myself with hot showers and chocolate. This one’s a post for other photographers or the curious, if you’re interested in following my journey of learning UW photography then stick around.
gear talk
First up – the gear. What to buy, how much to buy, which lenses and why #doyourownresearch applies here.
Disclaimer - I'm not a professional in UW photography yet. I have a vision of what I want to offer through my business(es) and I know it's going to take hours and hours of practice. I'm happy for you to learn alone with me - no gatekeepers here.
I own a Canon 6D and a Sony a7sii. My lenses are the Canon 50mm 1.2 L, the Sigma Art 35mm 1.4 and the Canon 24-70mm 2.8 L. I had the Sigma Art 85mm until 2 weeks ago, when I sold it to pay for this UW set up. The 85mm was a beautiful lens but I struggled to ever bring it out of my bag on location. The 50mm is my favourite, I use it 80% of the time and in general when shooting close, I prefer to physically be close. Personal preference is all! It helps that I don’t shoot weddings so having a long lens is not a requisite.
My 6D is my shooting body, the Sony was purchased for video work only – I have hardly ever photographed on it. This is important to remember as I explain what led me to purchase my UW housing.
Most pro UW housings are hard cases, specifically tailored to your camera body. I’m not going to go into them as I am no expert and. fear I would only offer sub par advice. I can simply say that at the cheaper end, I was looking at a Seafrogs housings for my Sony, and at the unaffordable end (for me anyway) the Ikelite seems to be industry standard.
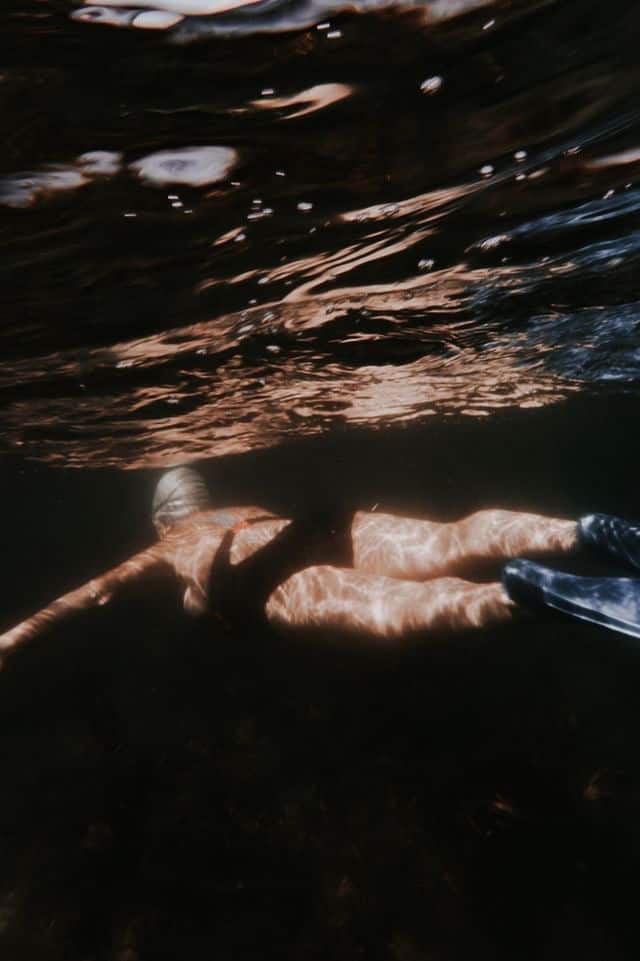
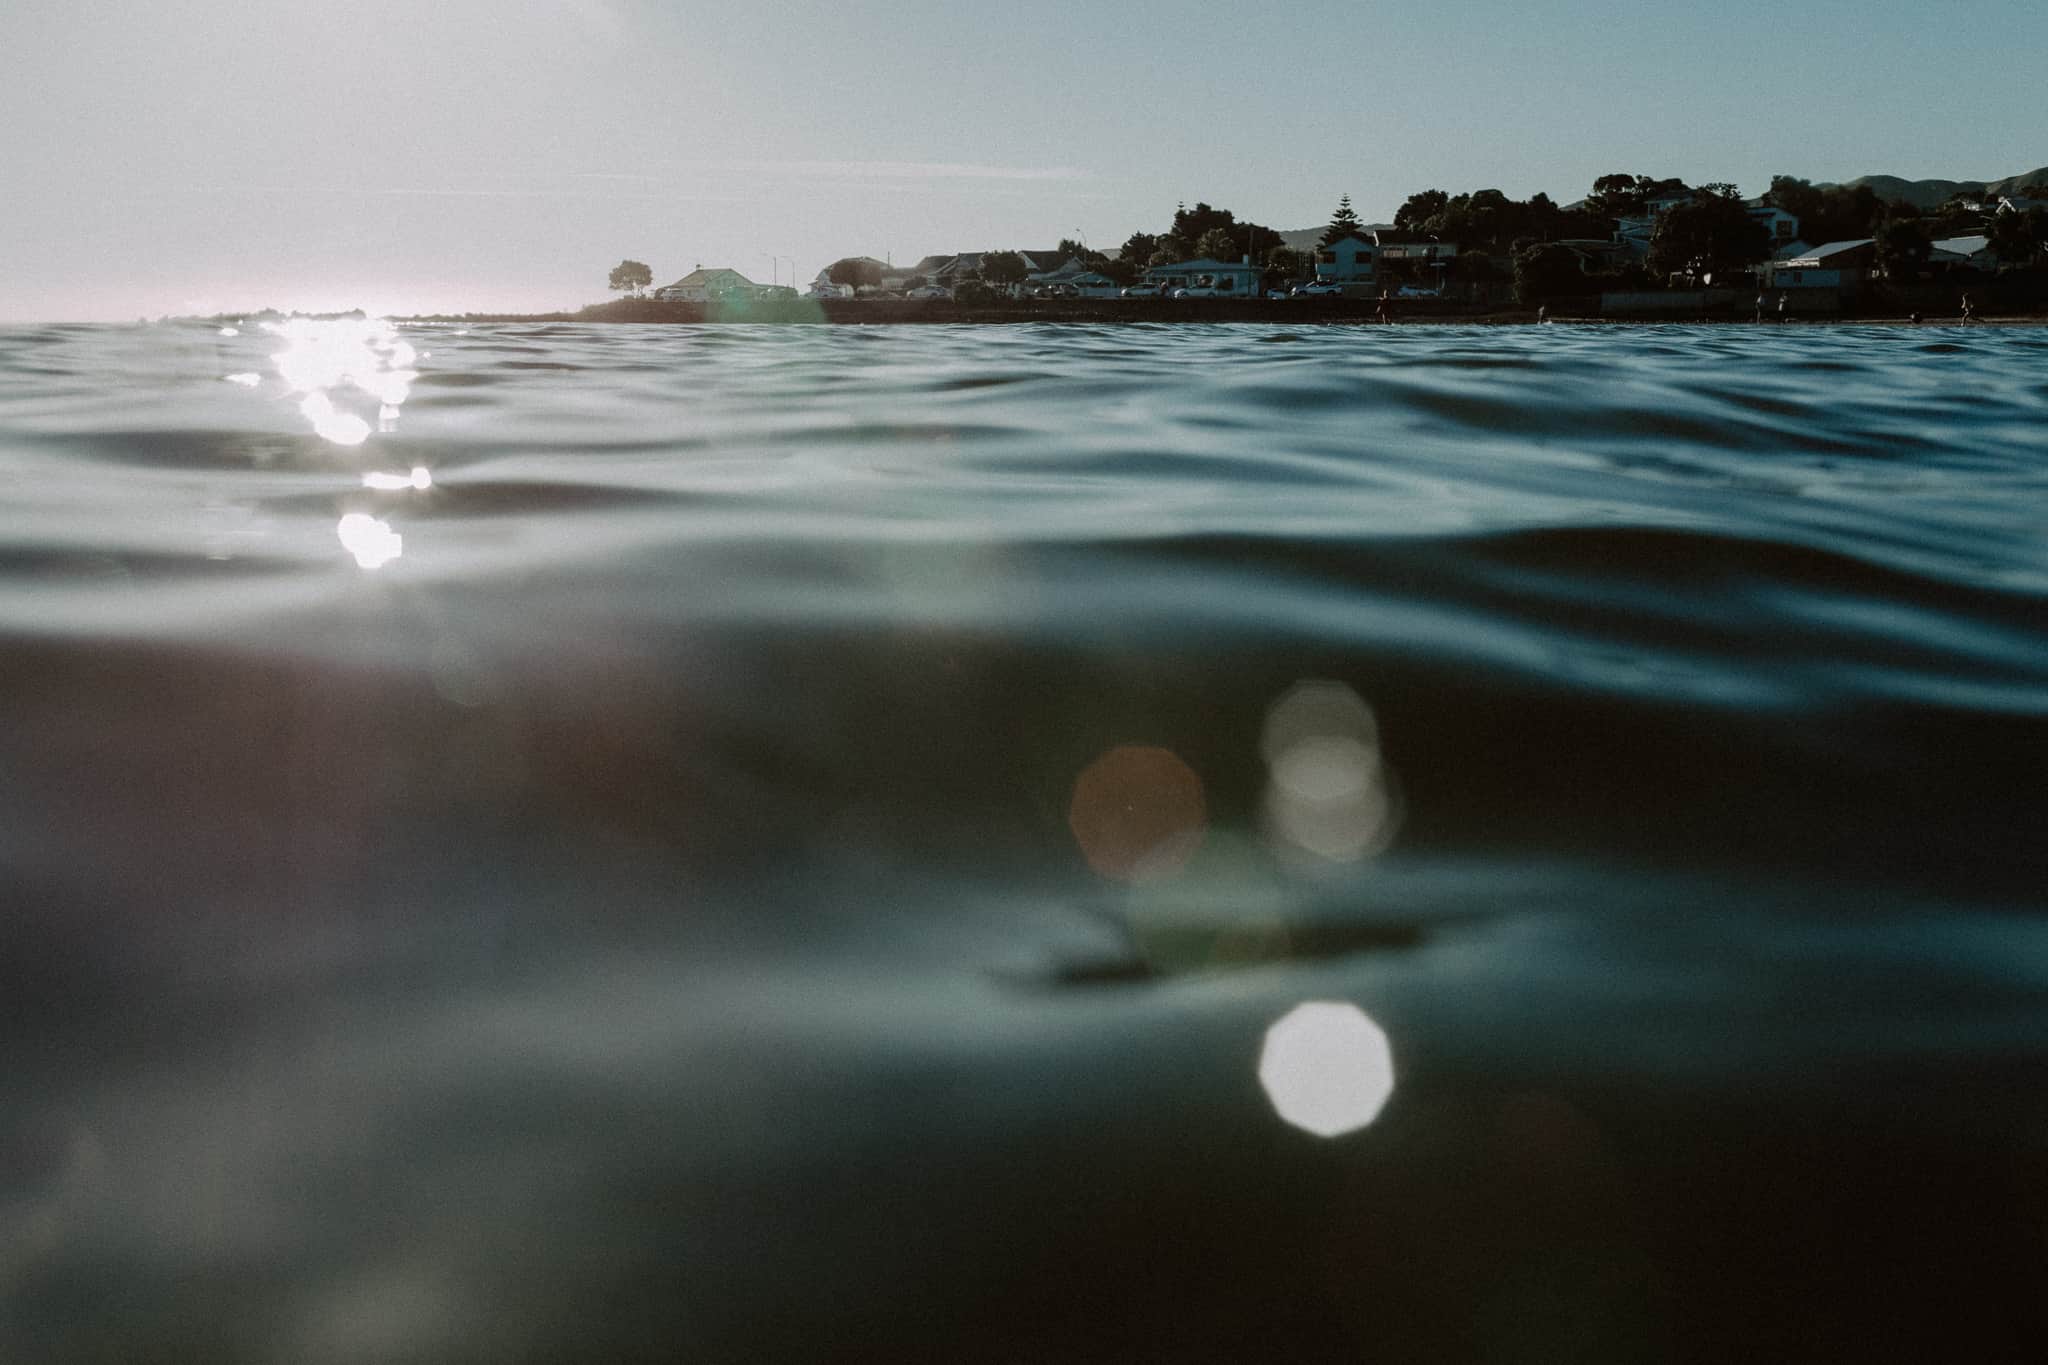
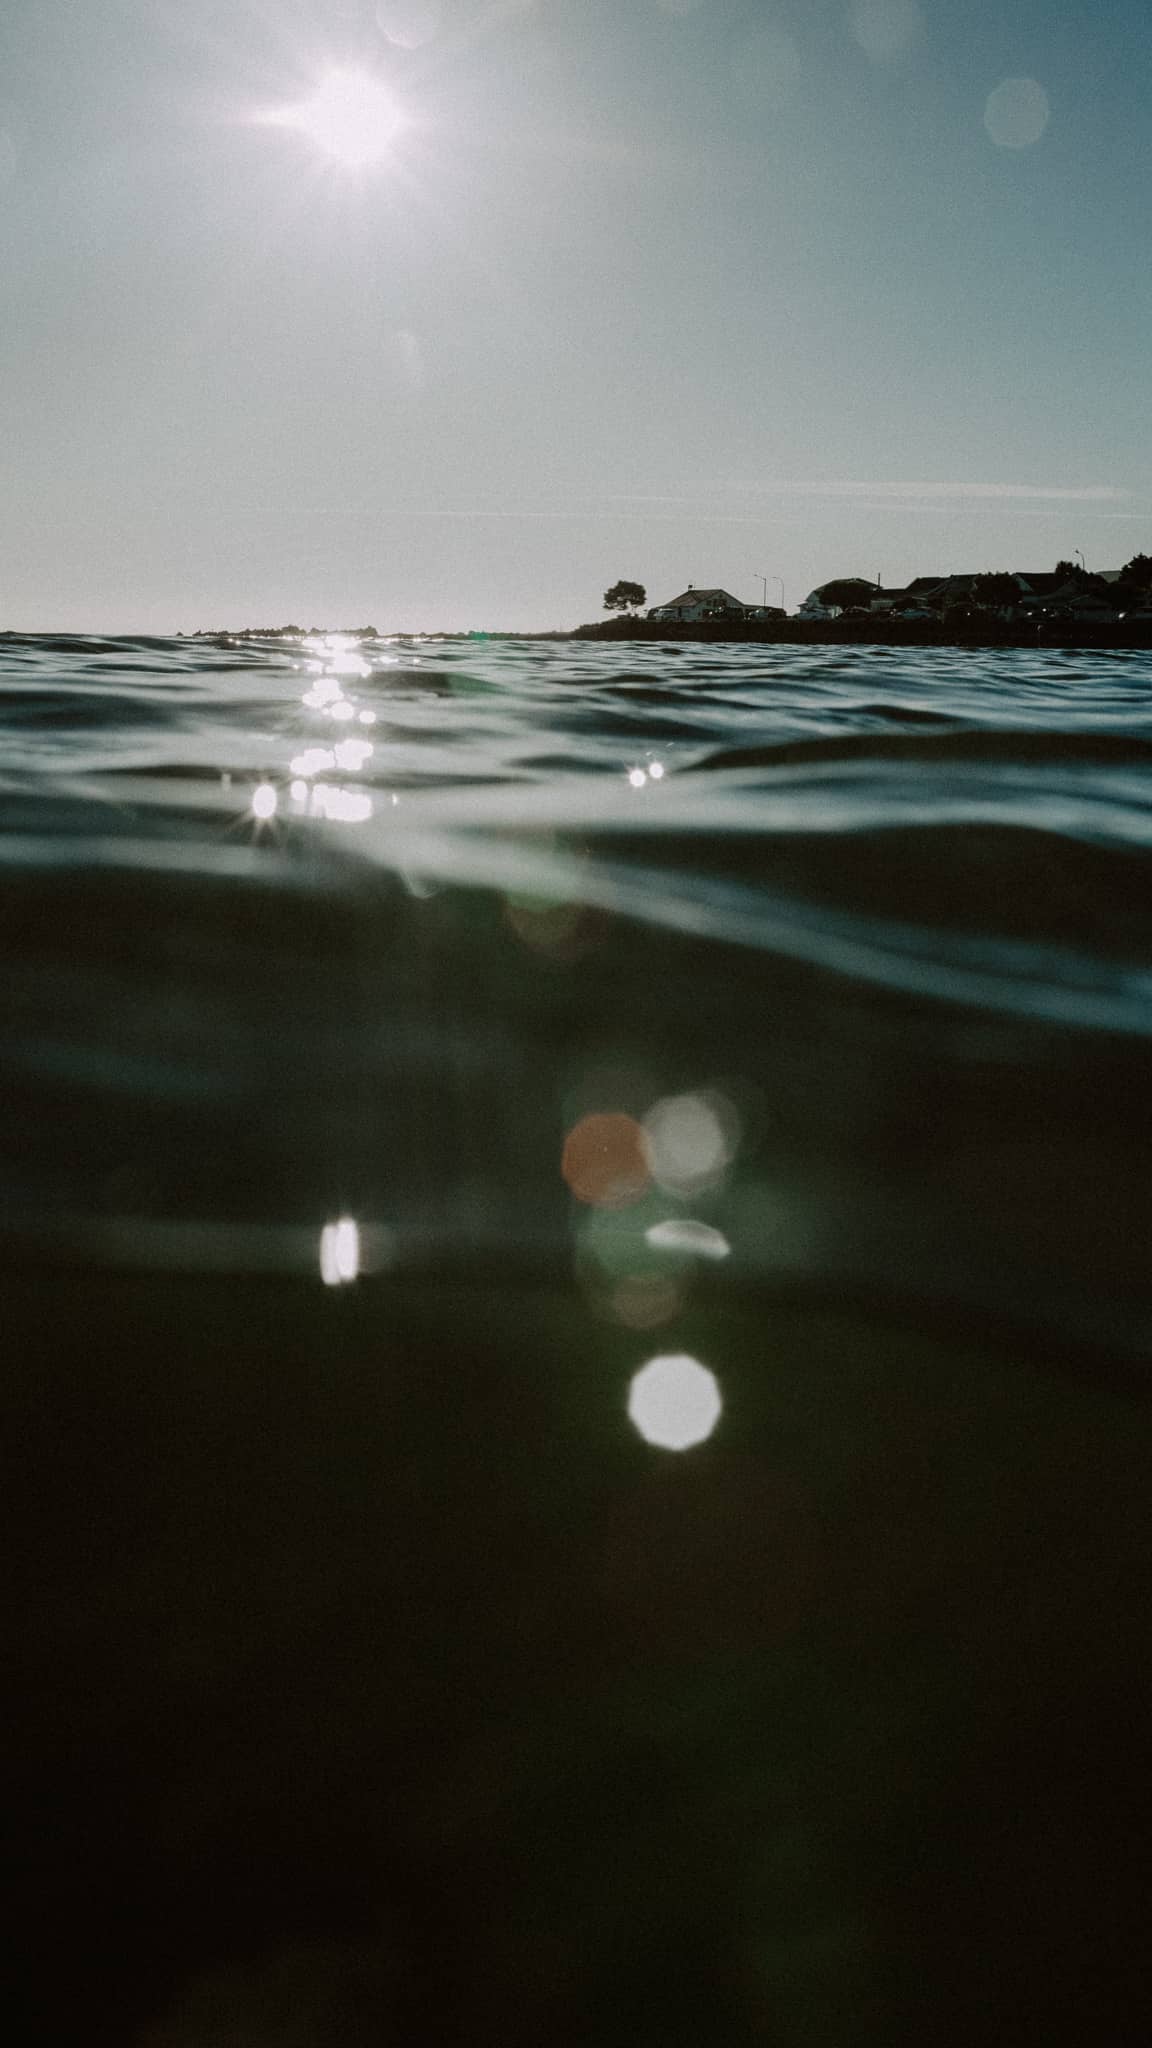
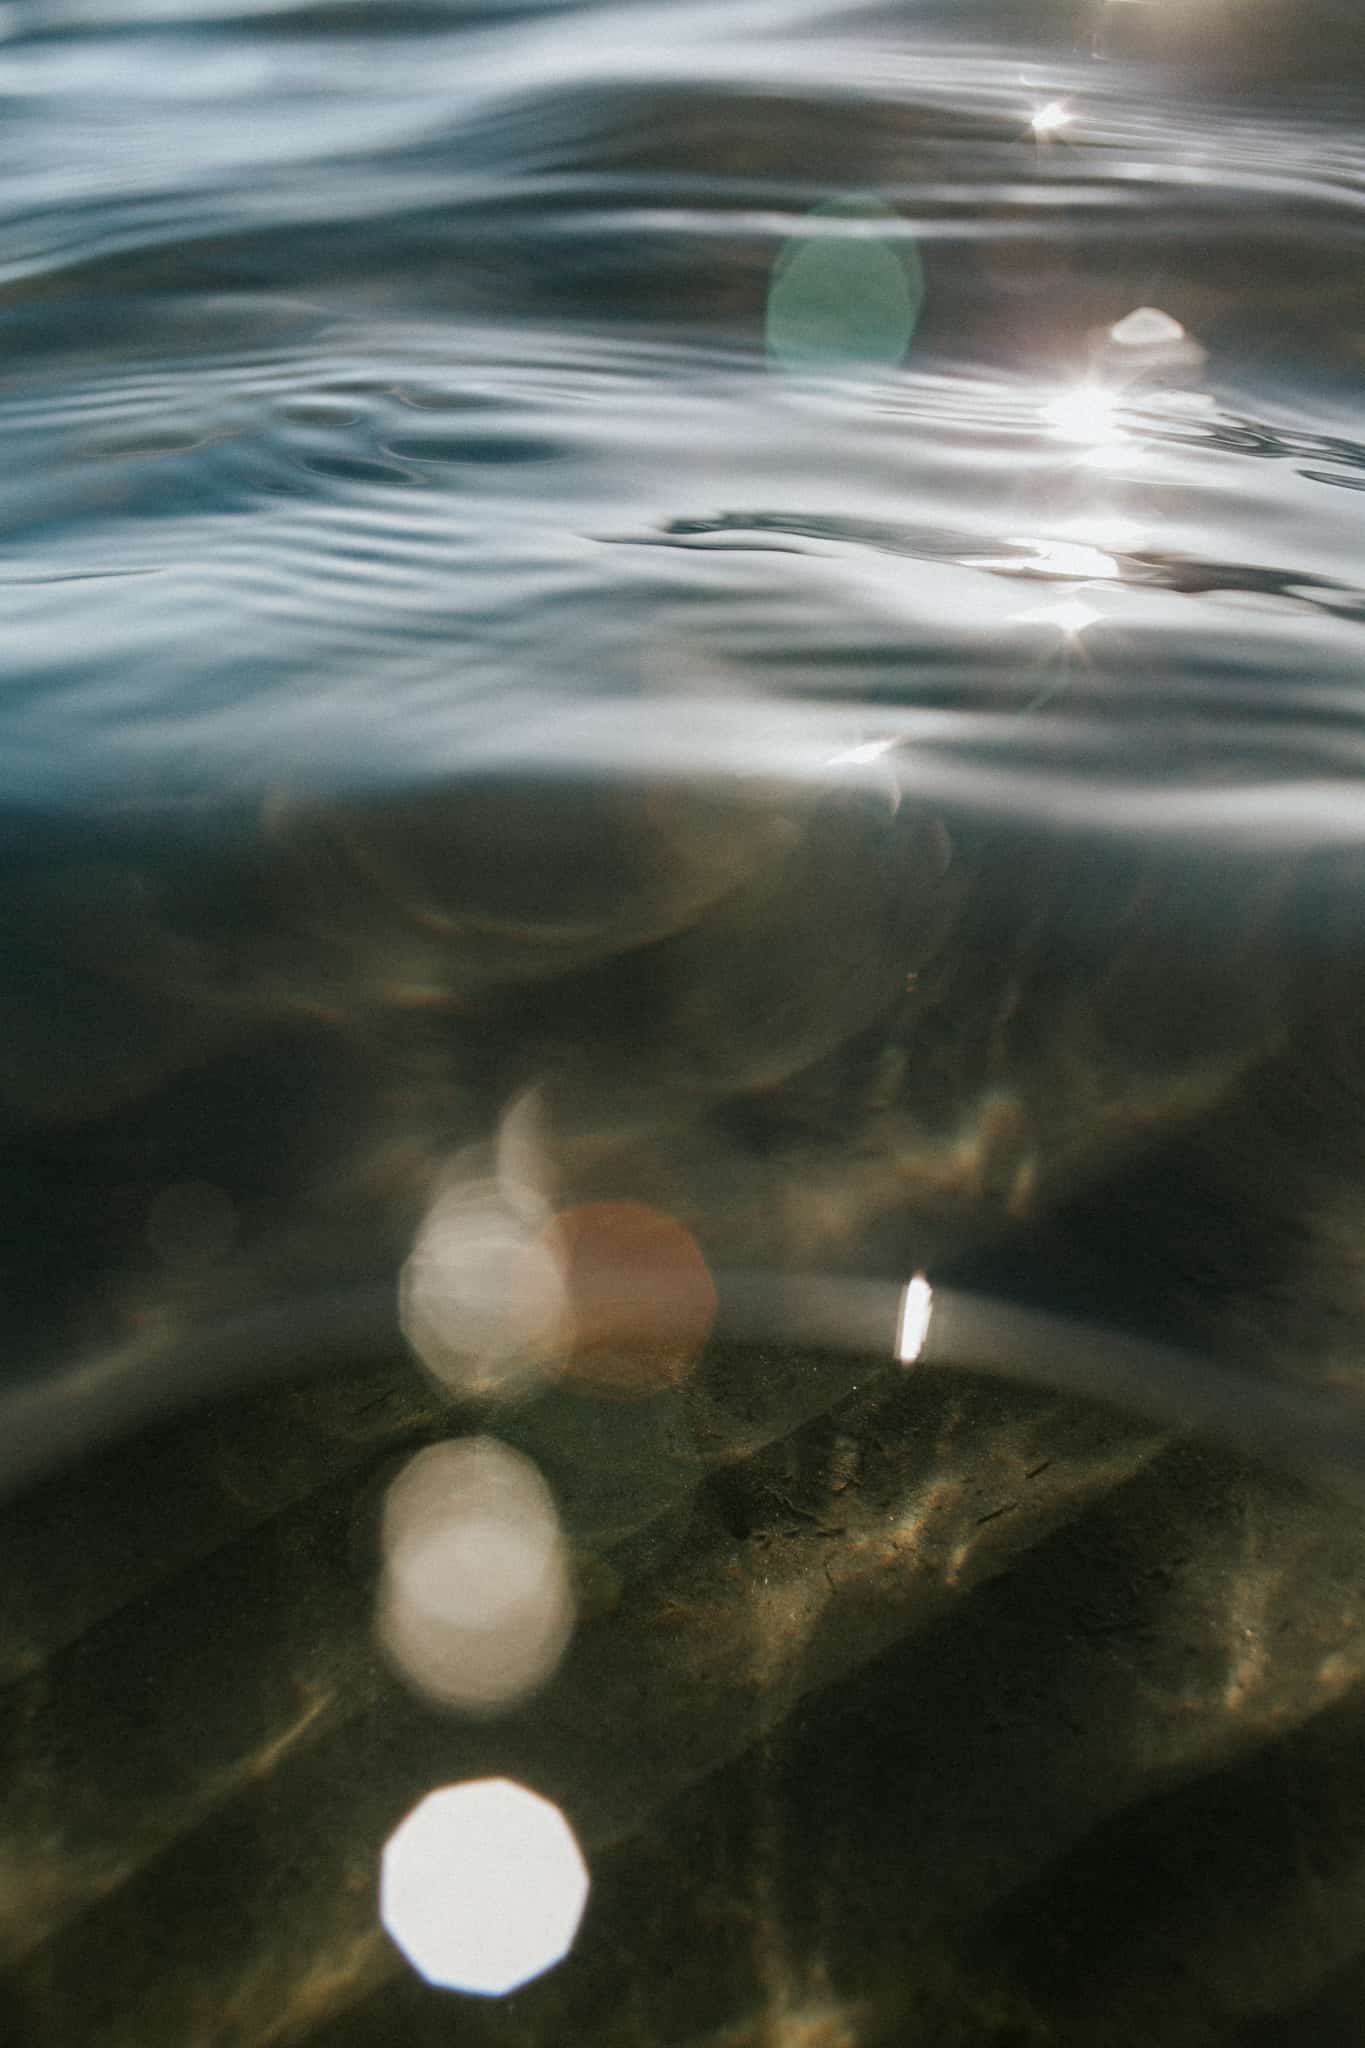
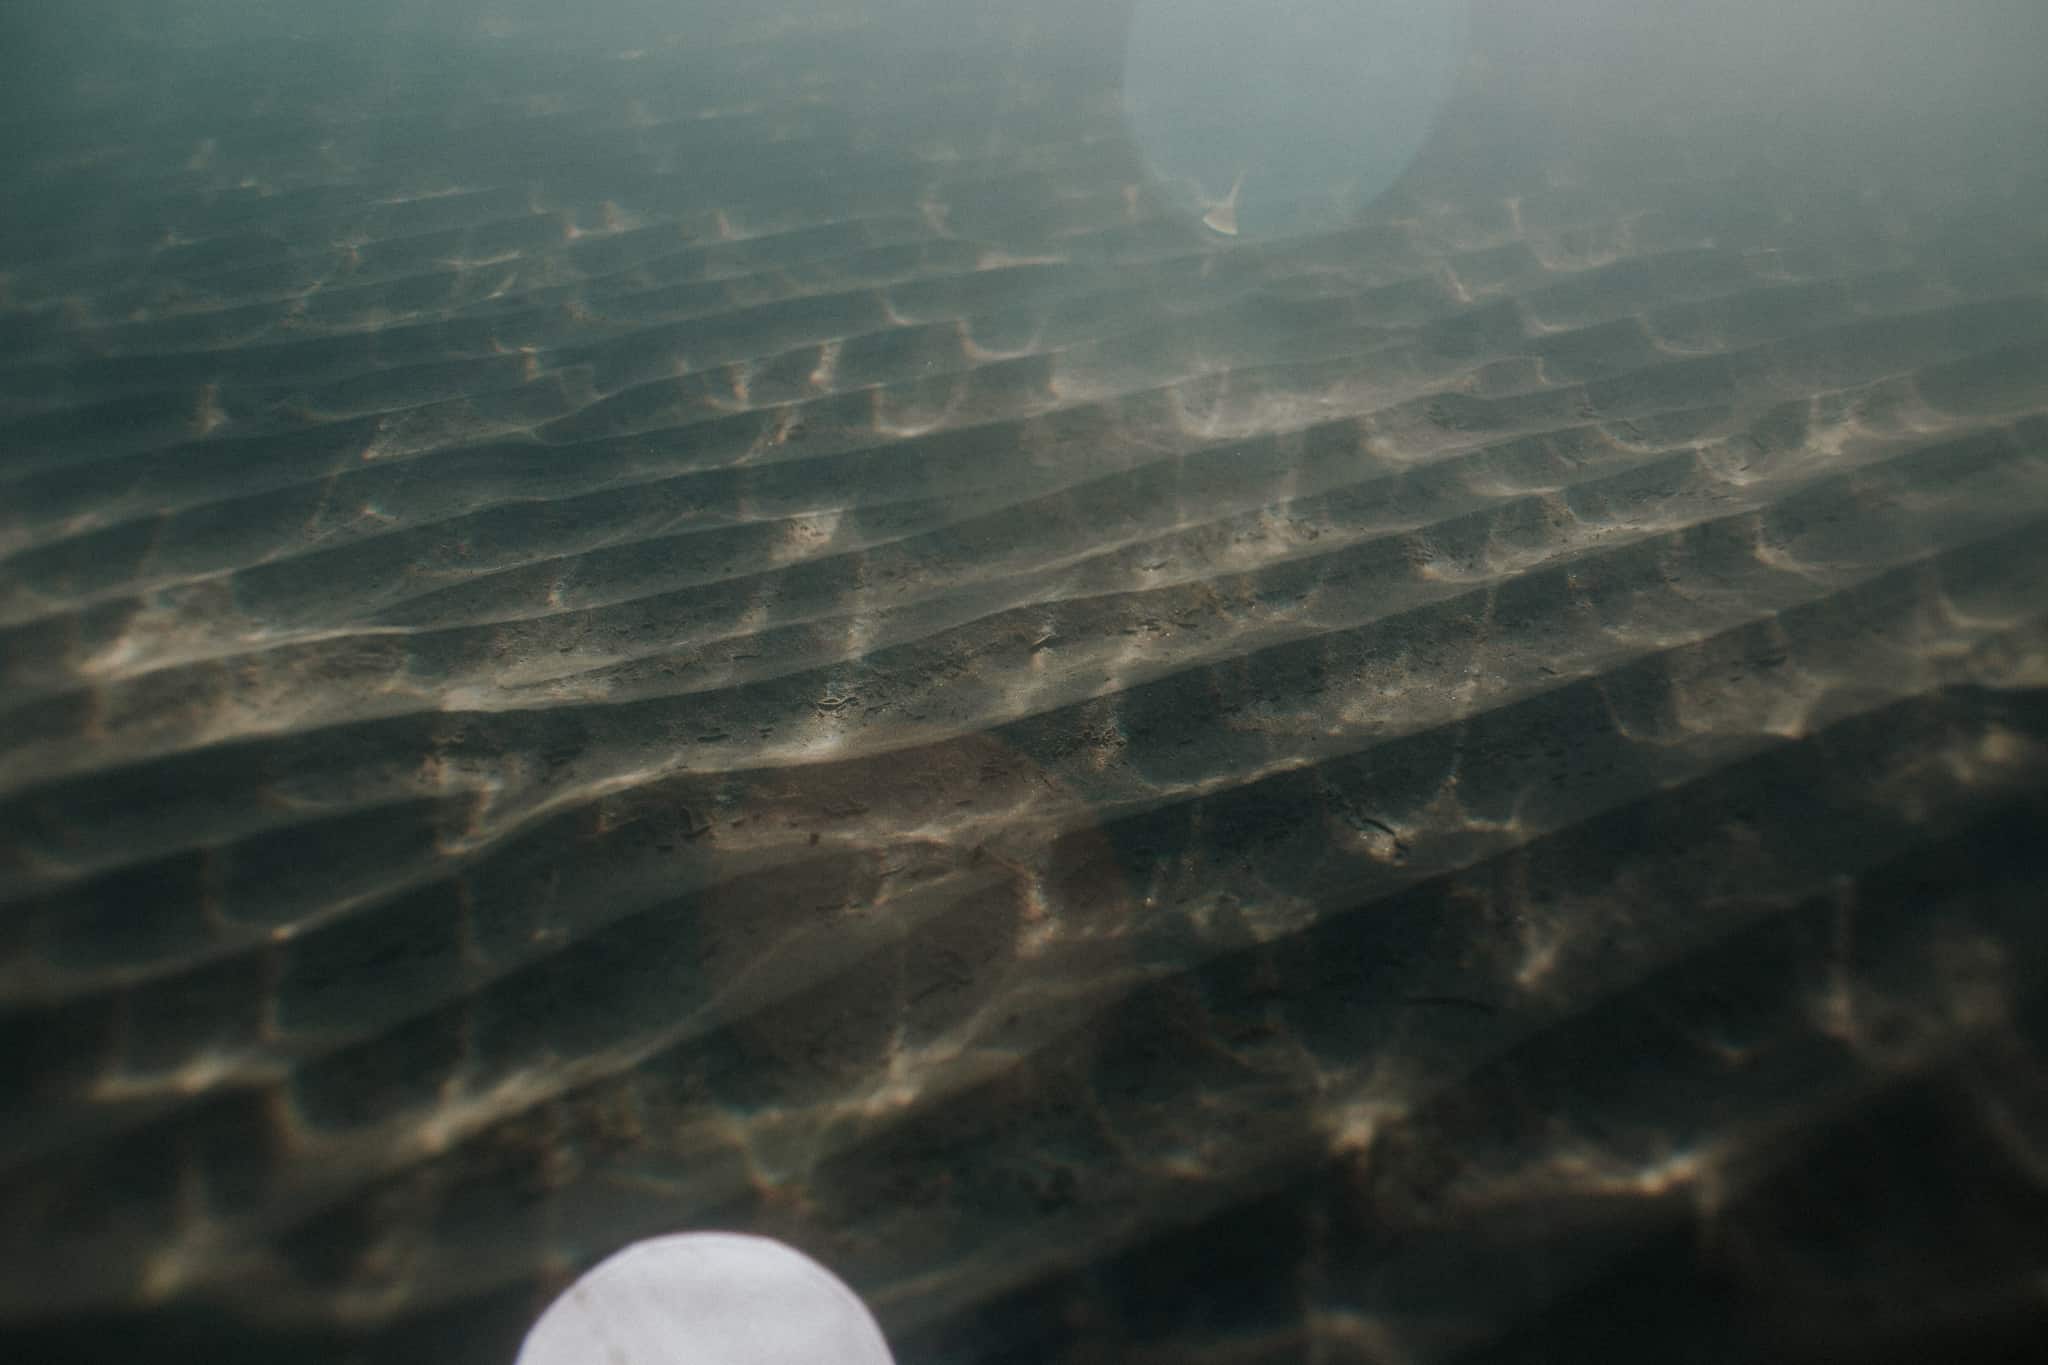
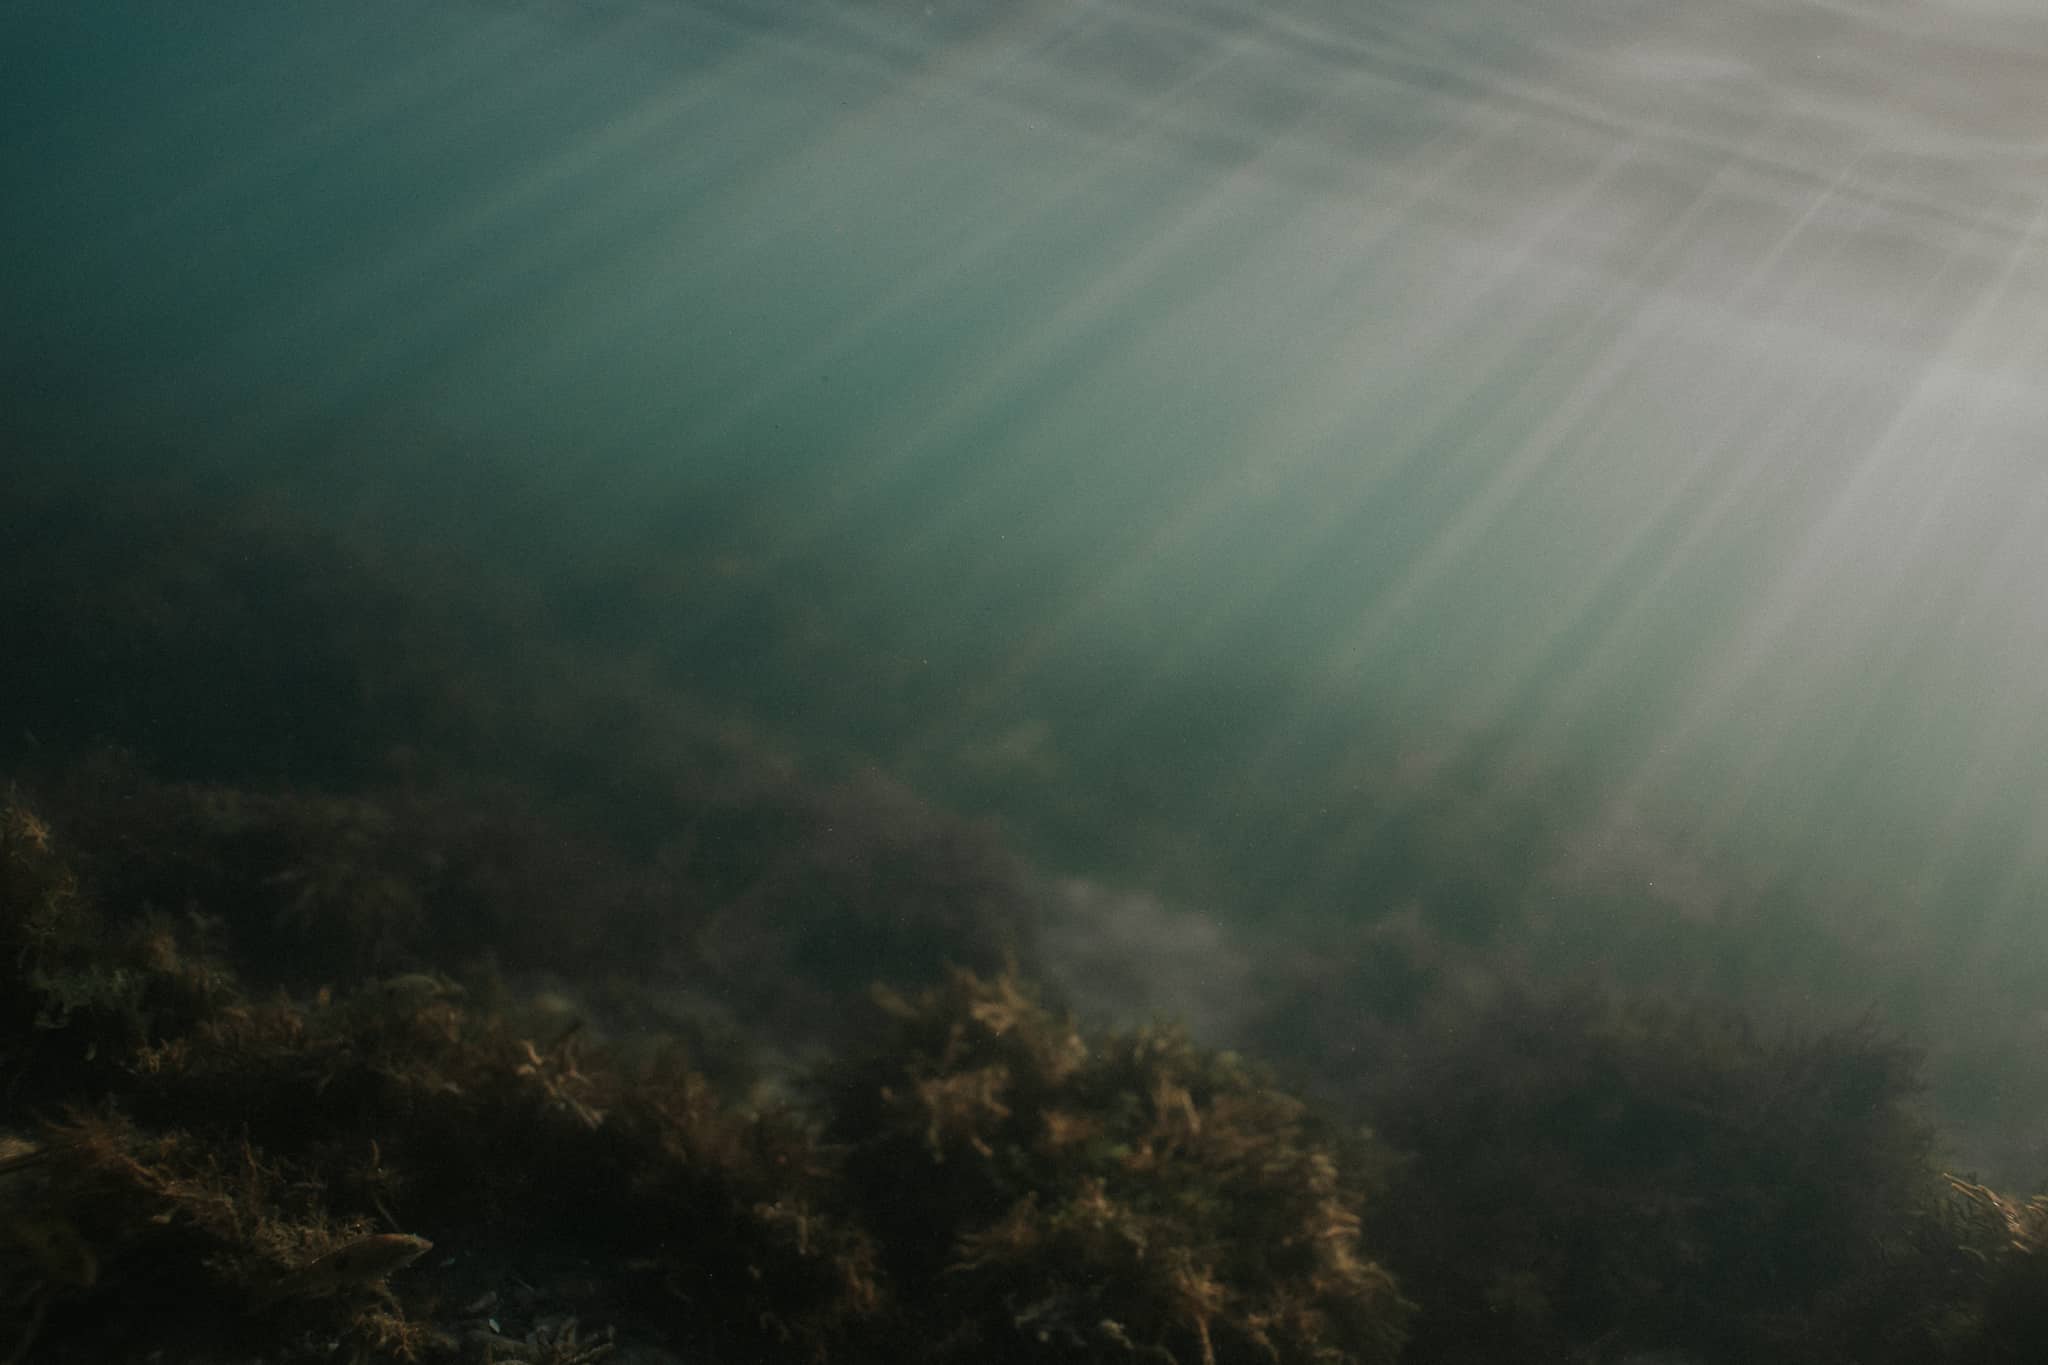
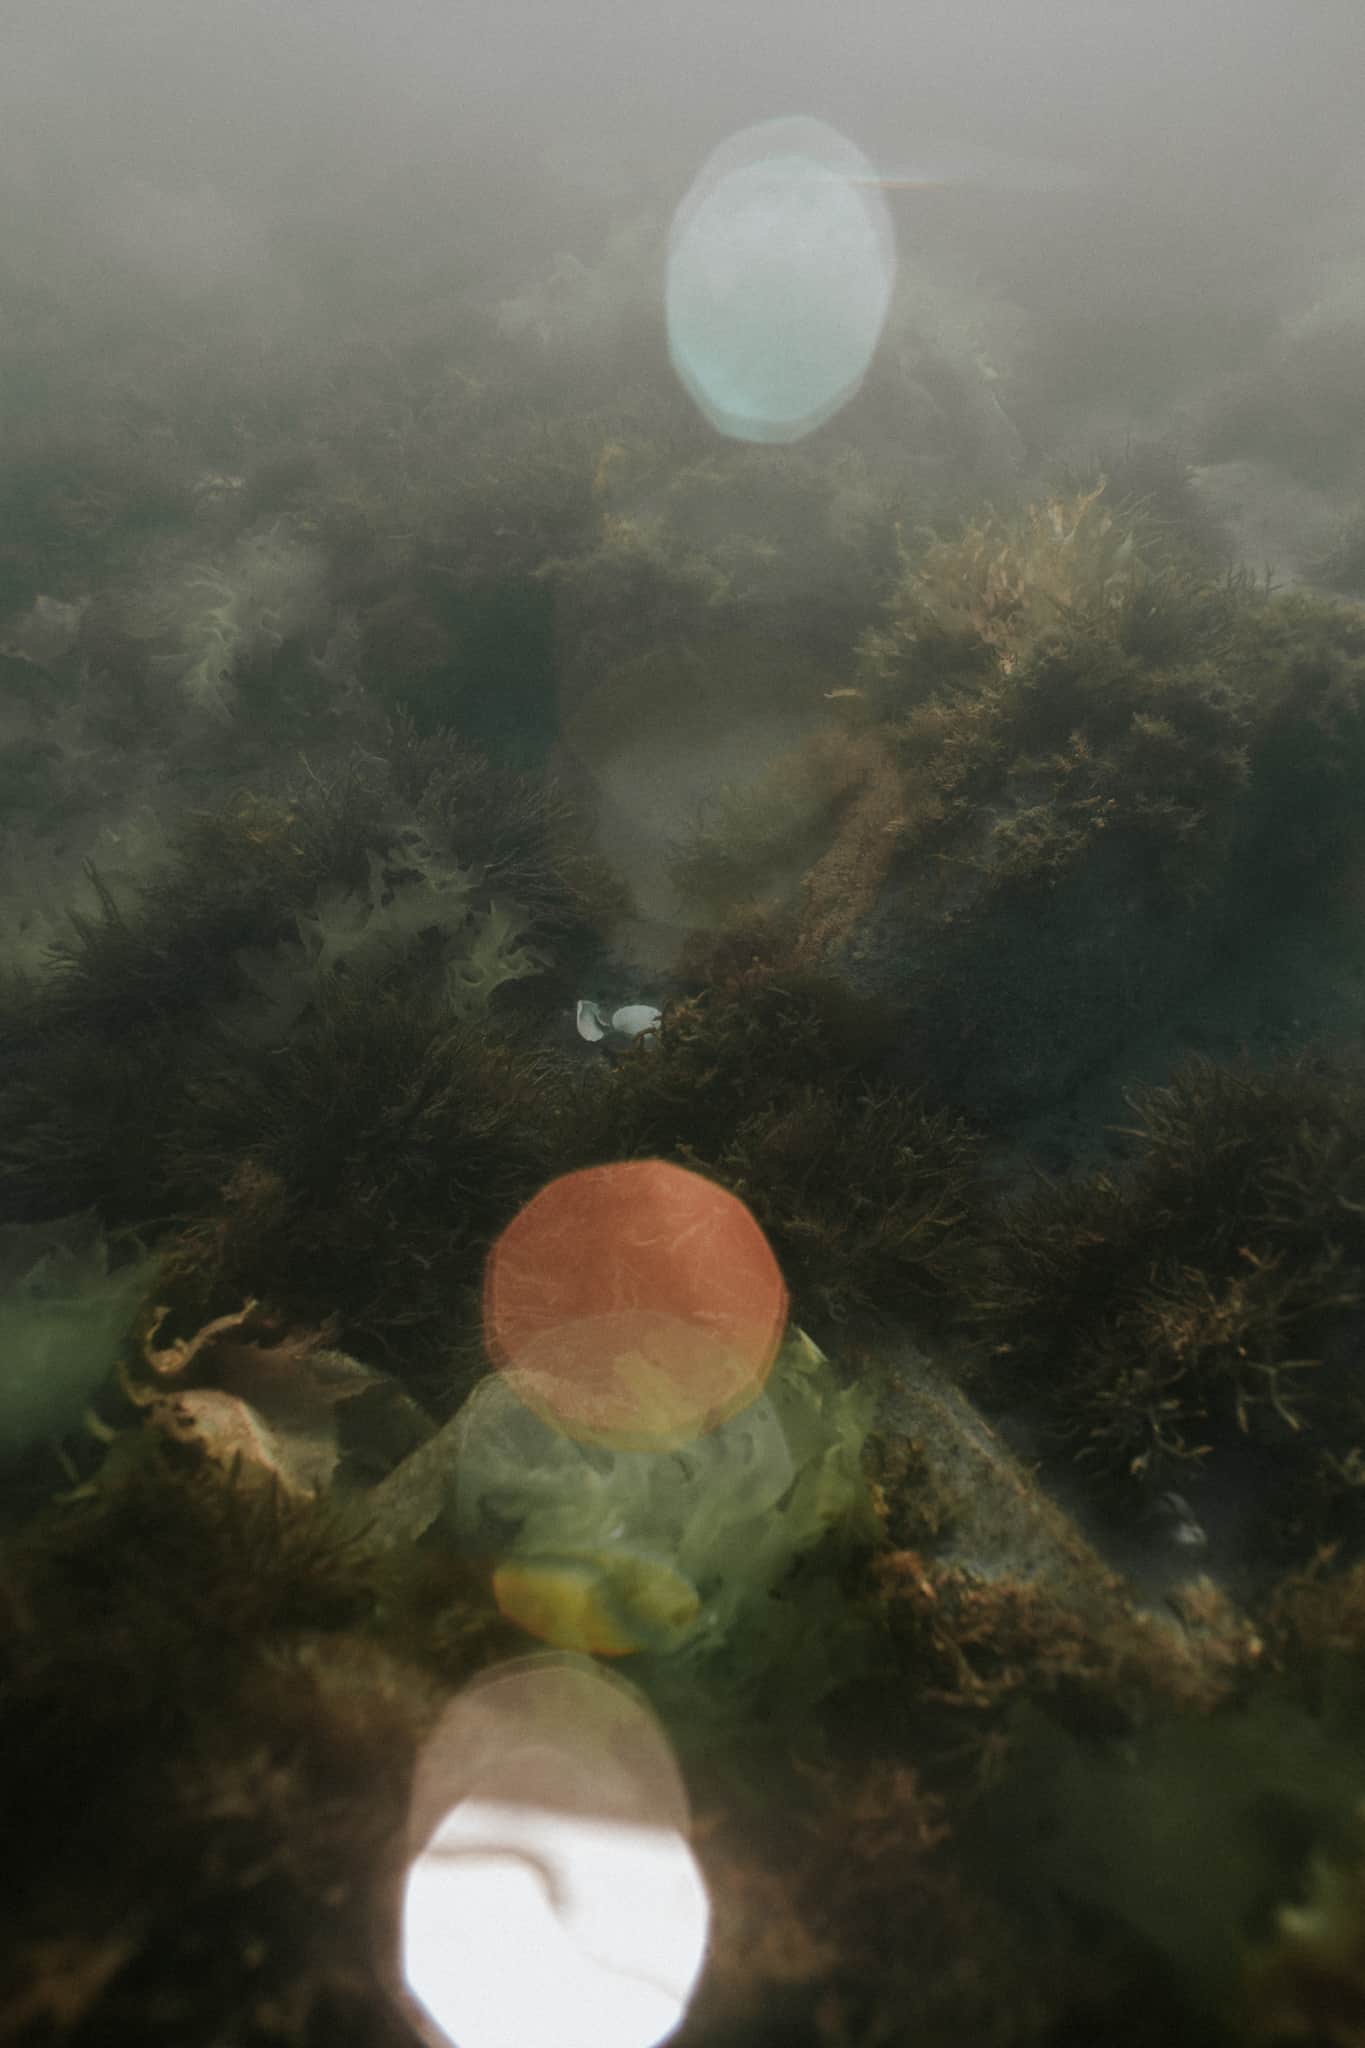
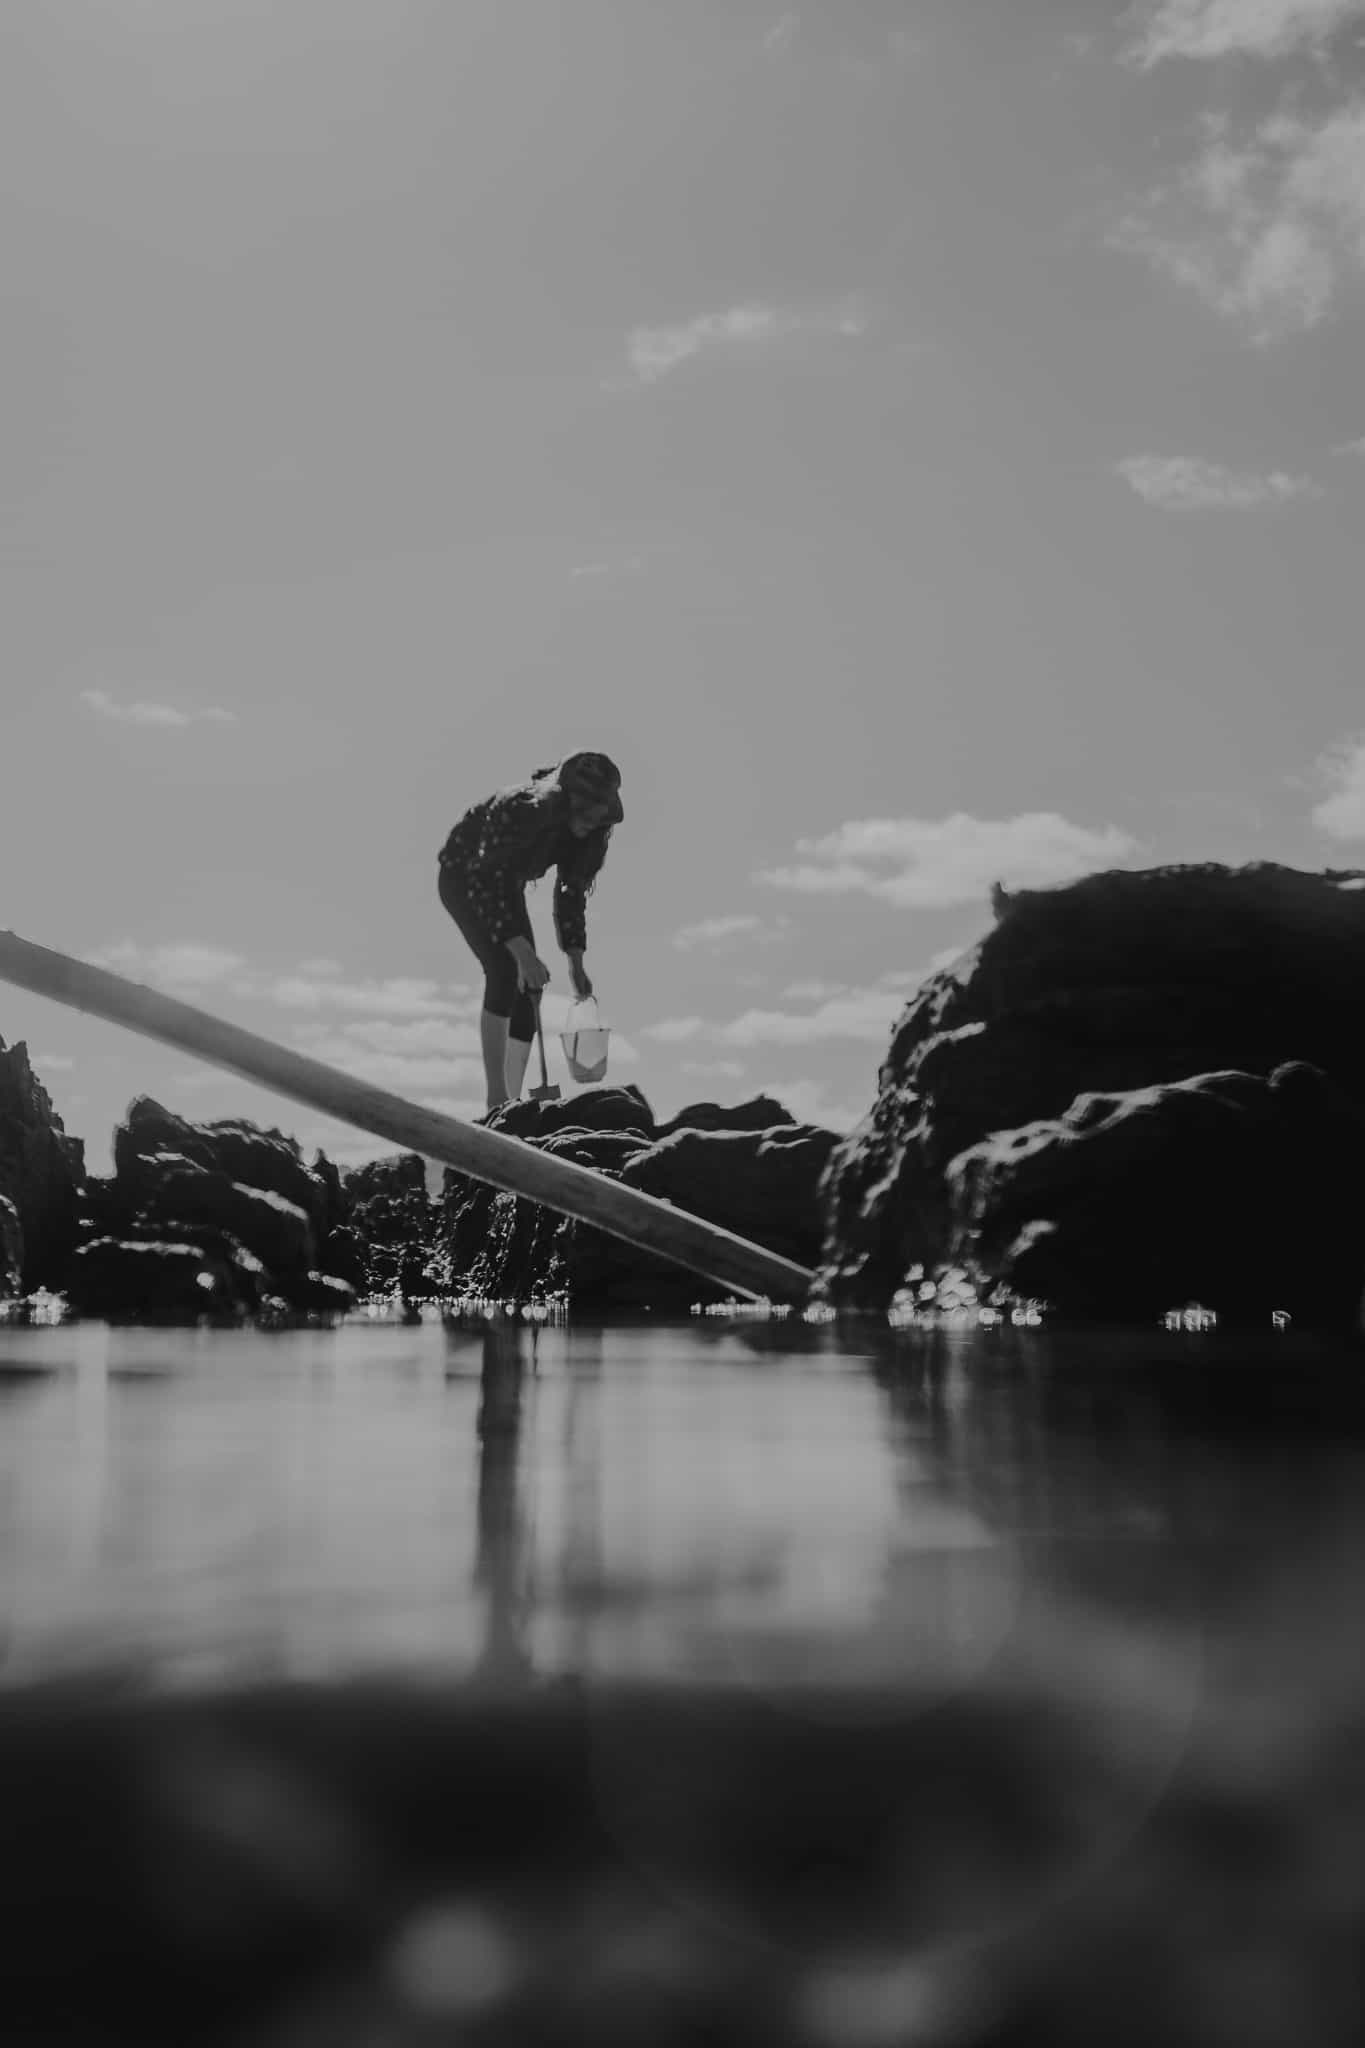
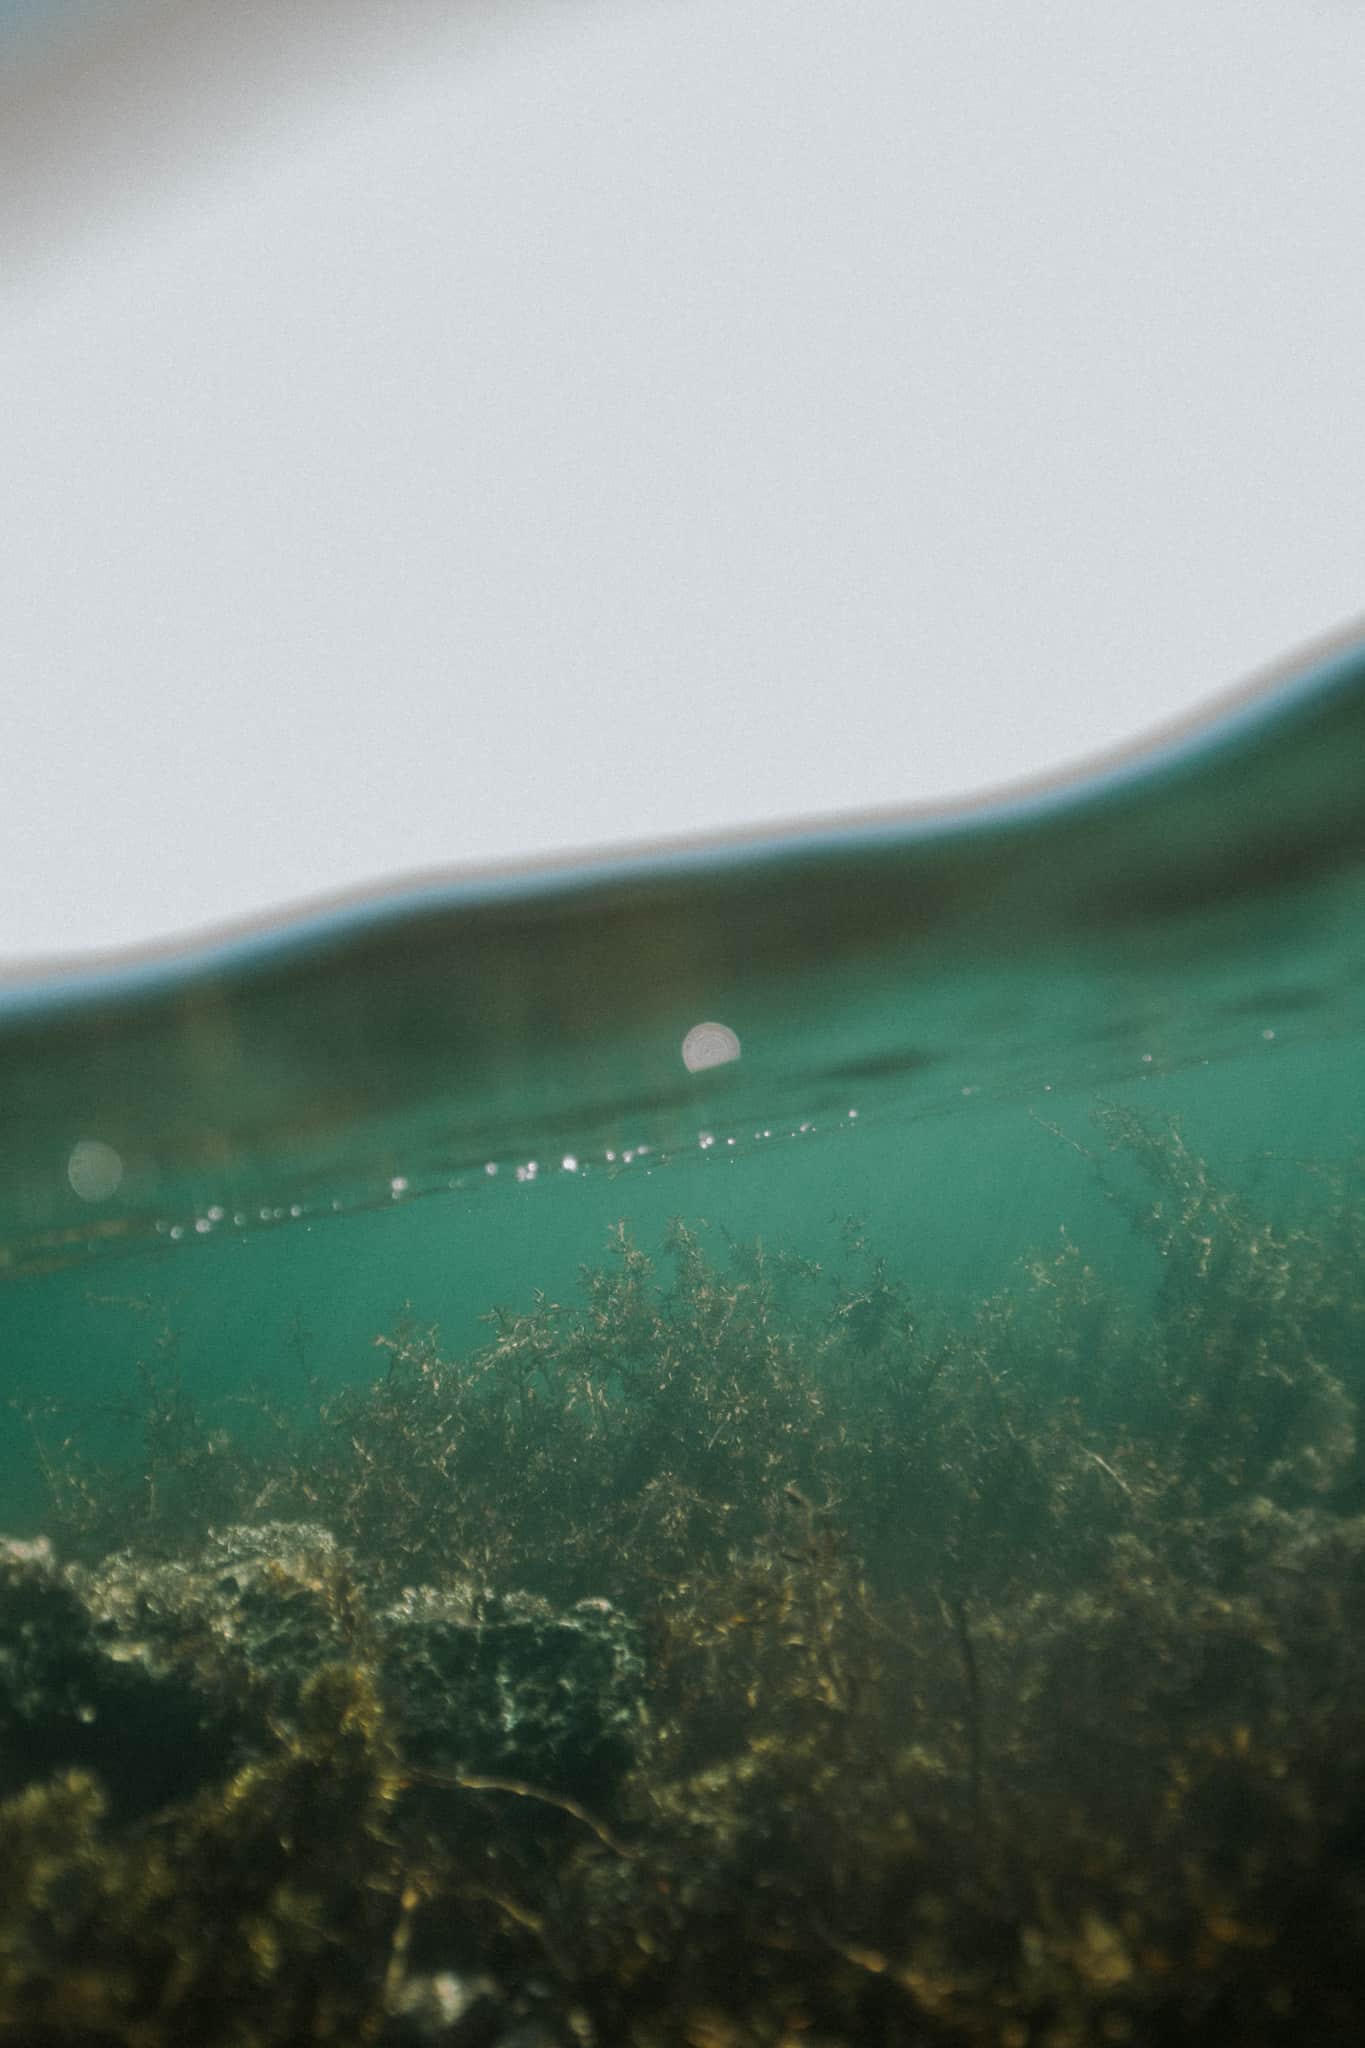
I put out a call on Facebook looking for UW experts to chat to and ended up being introduced to a couple different legends. I emailed with both, and met up with Matt. He was one of the original UW cinematographers on the OG Blue Planet – yes, THAT one. He’s since moved to NZ and doing a variety of creative endeavours, and he very kindly offered to help me out. He took me and a friend from Seadigital out in Baleana Bay to have a go on his kit.
I won’t sugarcoat this – it was hard. So much harder than I expected.
Firstly, I had borrowed my neighbour’s teenage son’s wetsuit and it wasn’t very thick. My friends both had thick diving suits booties, and I was jealously quivering. Secondly, Getting used to wearing a face mask and looking at an LCD screen through a viewing glass and the mask was very difficult. Mostly I was flying blind. Thirdly, getting anything in focus was absurd, ABSURD! Why was it so hard? OMG.
I tried a weight belt which I think helped, add that to the list of things to purchase. OMG I’m boring myself with these details – onwards!
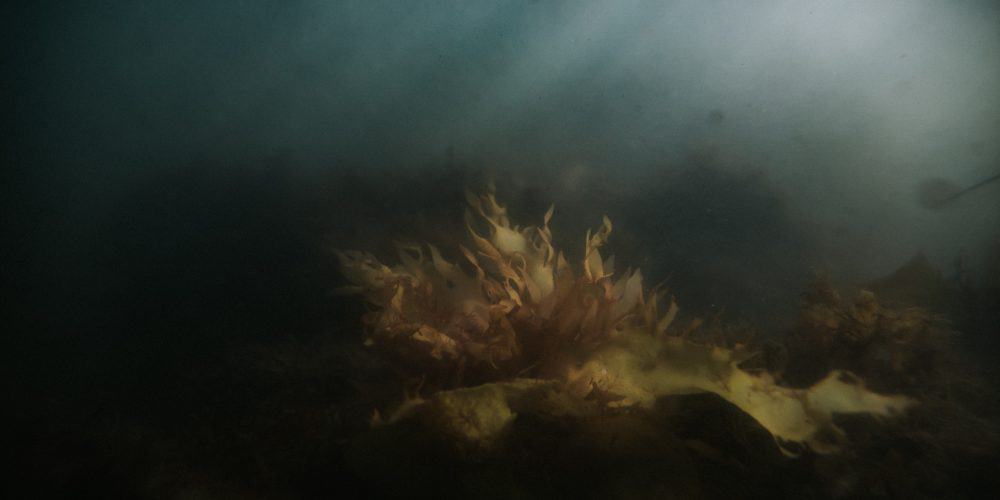
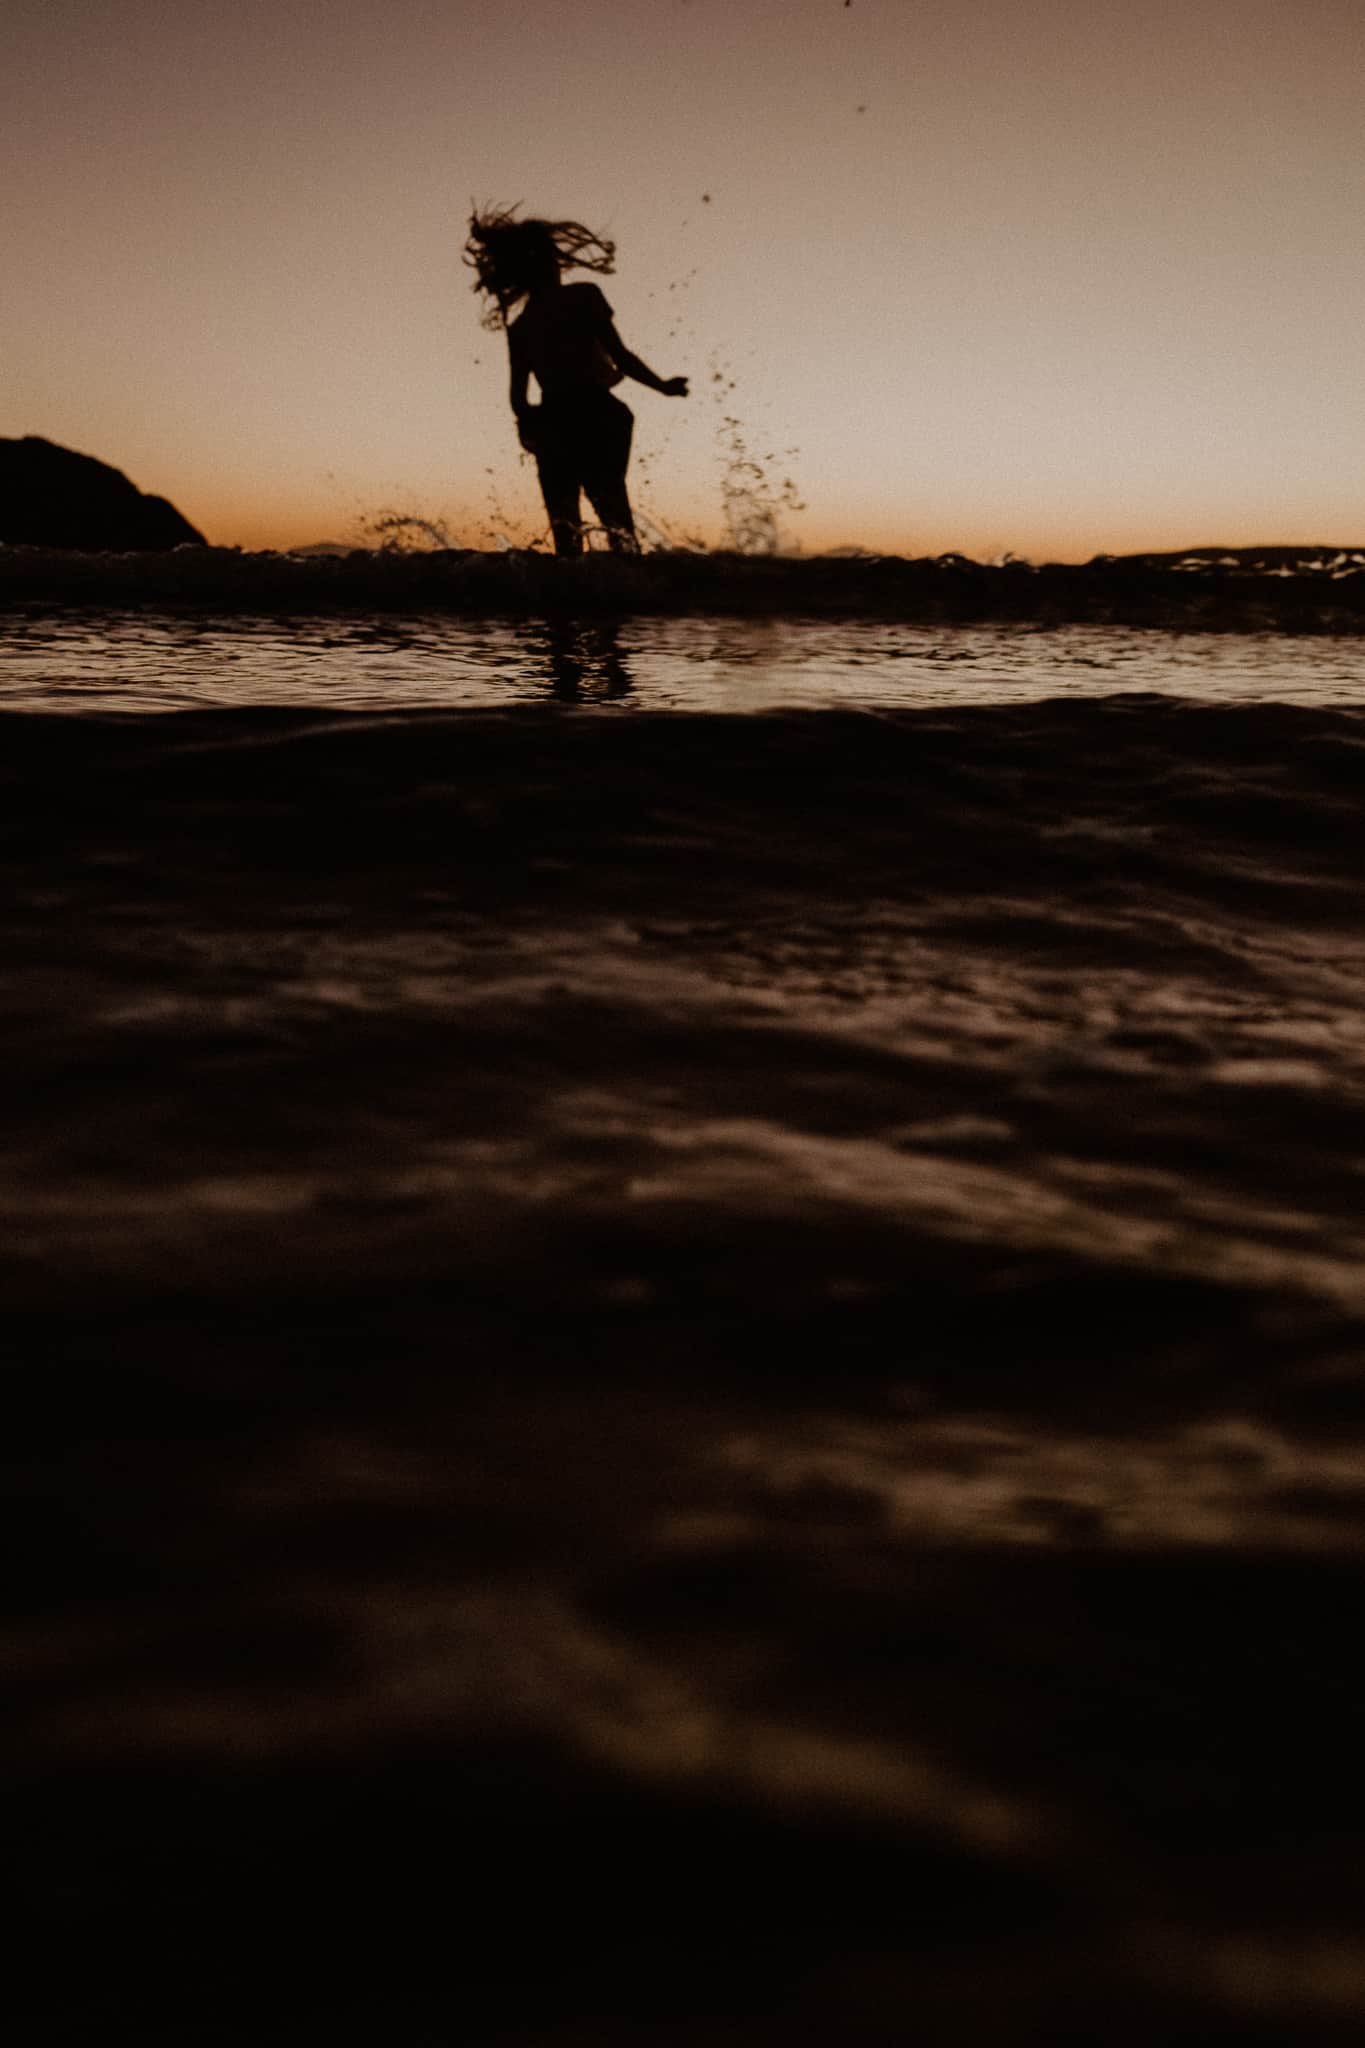
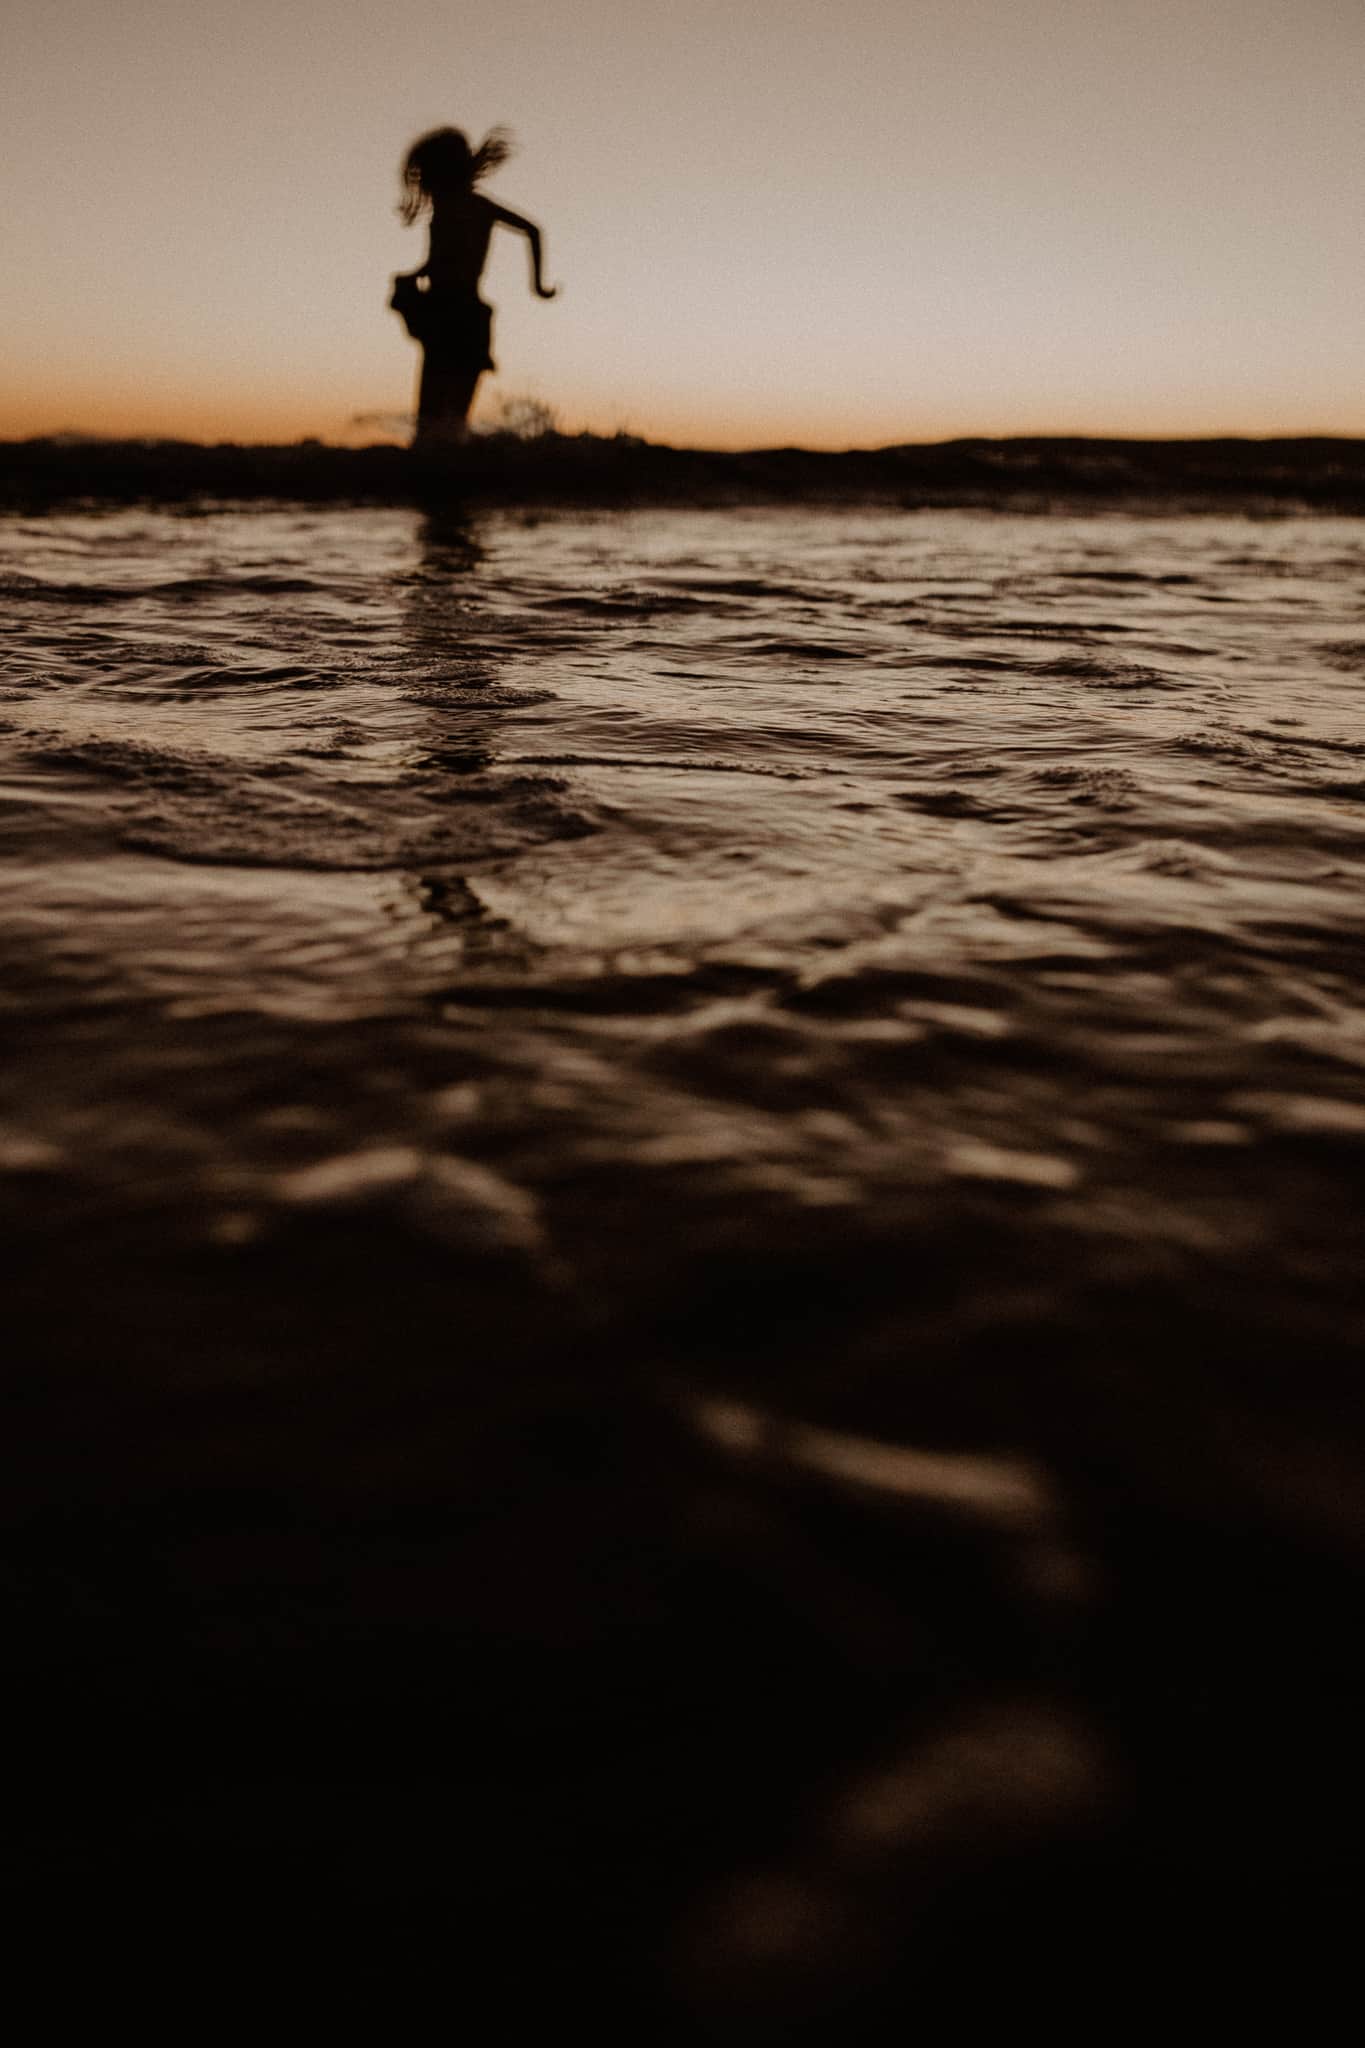
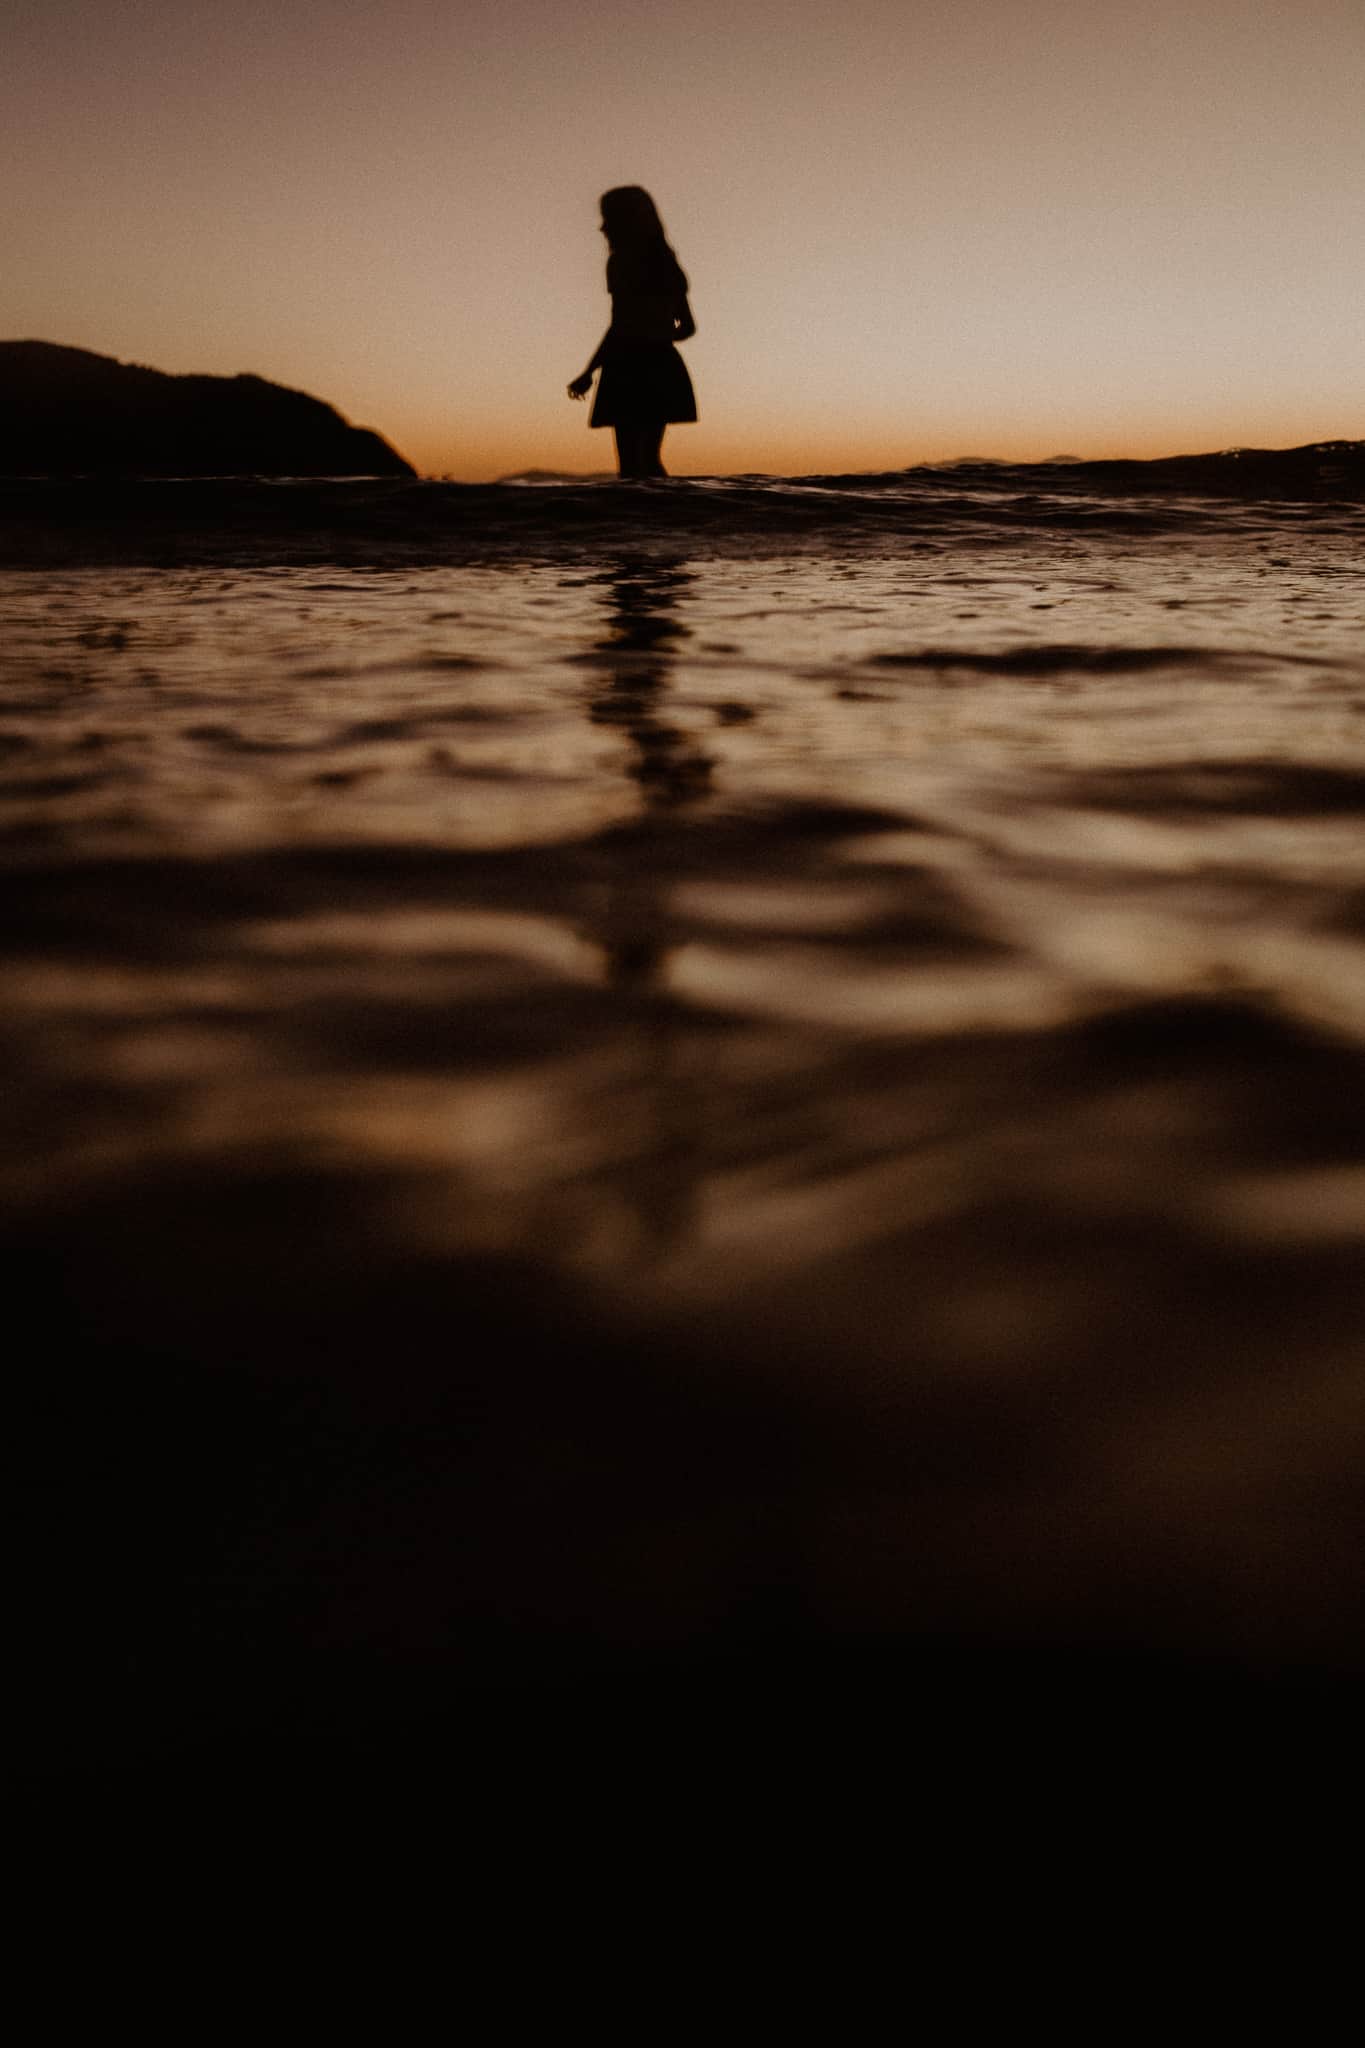
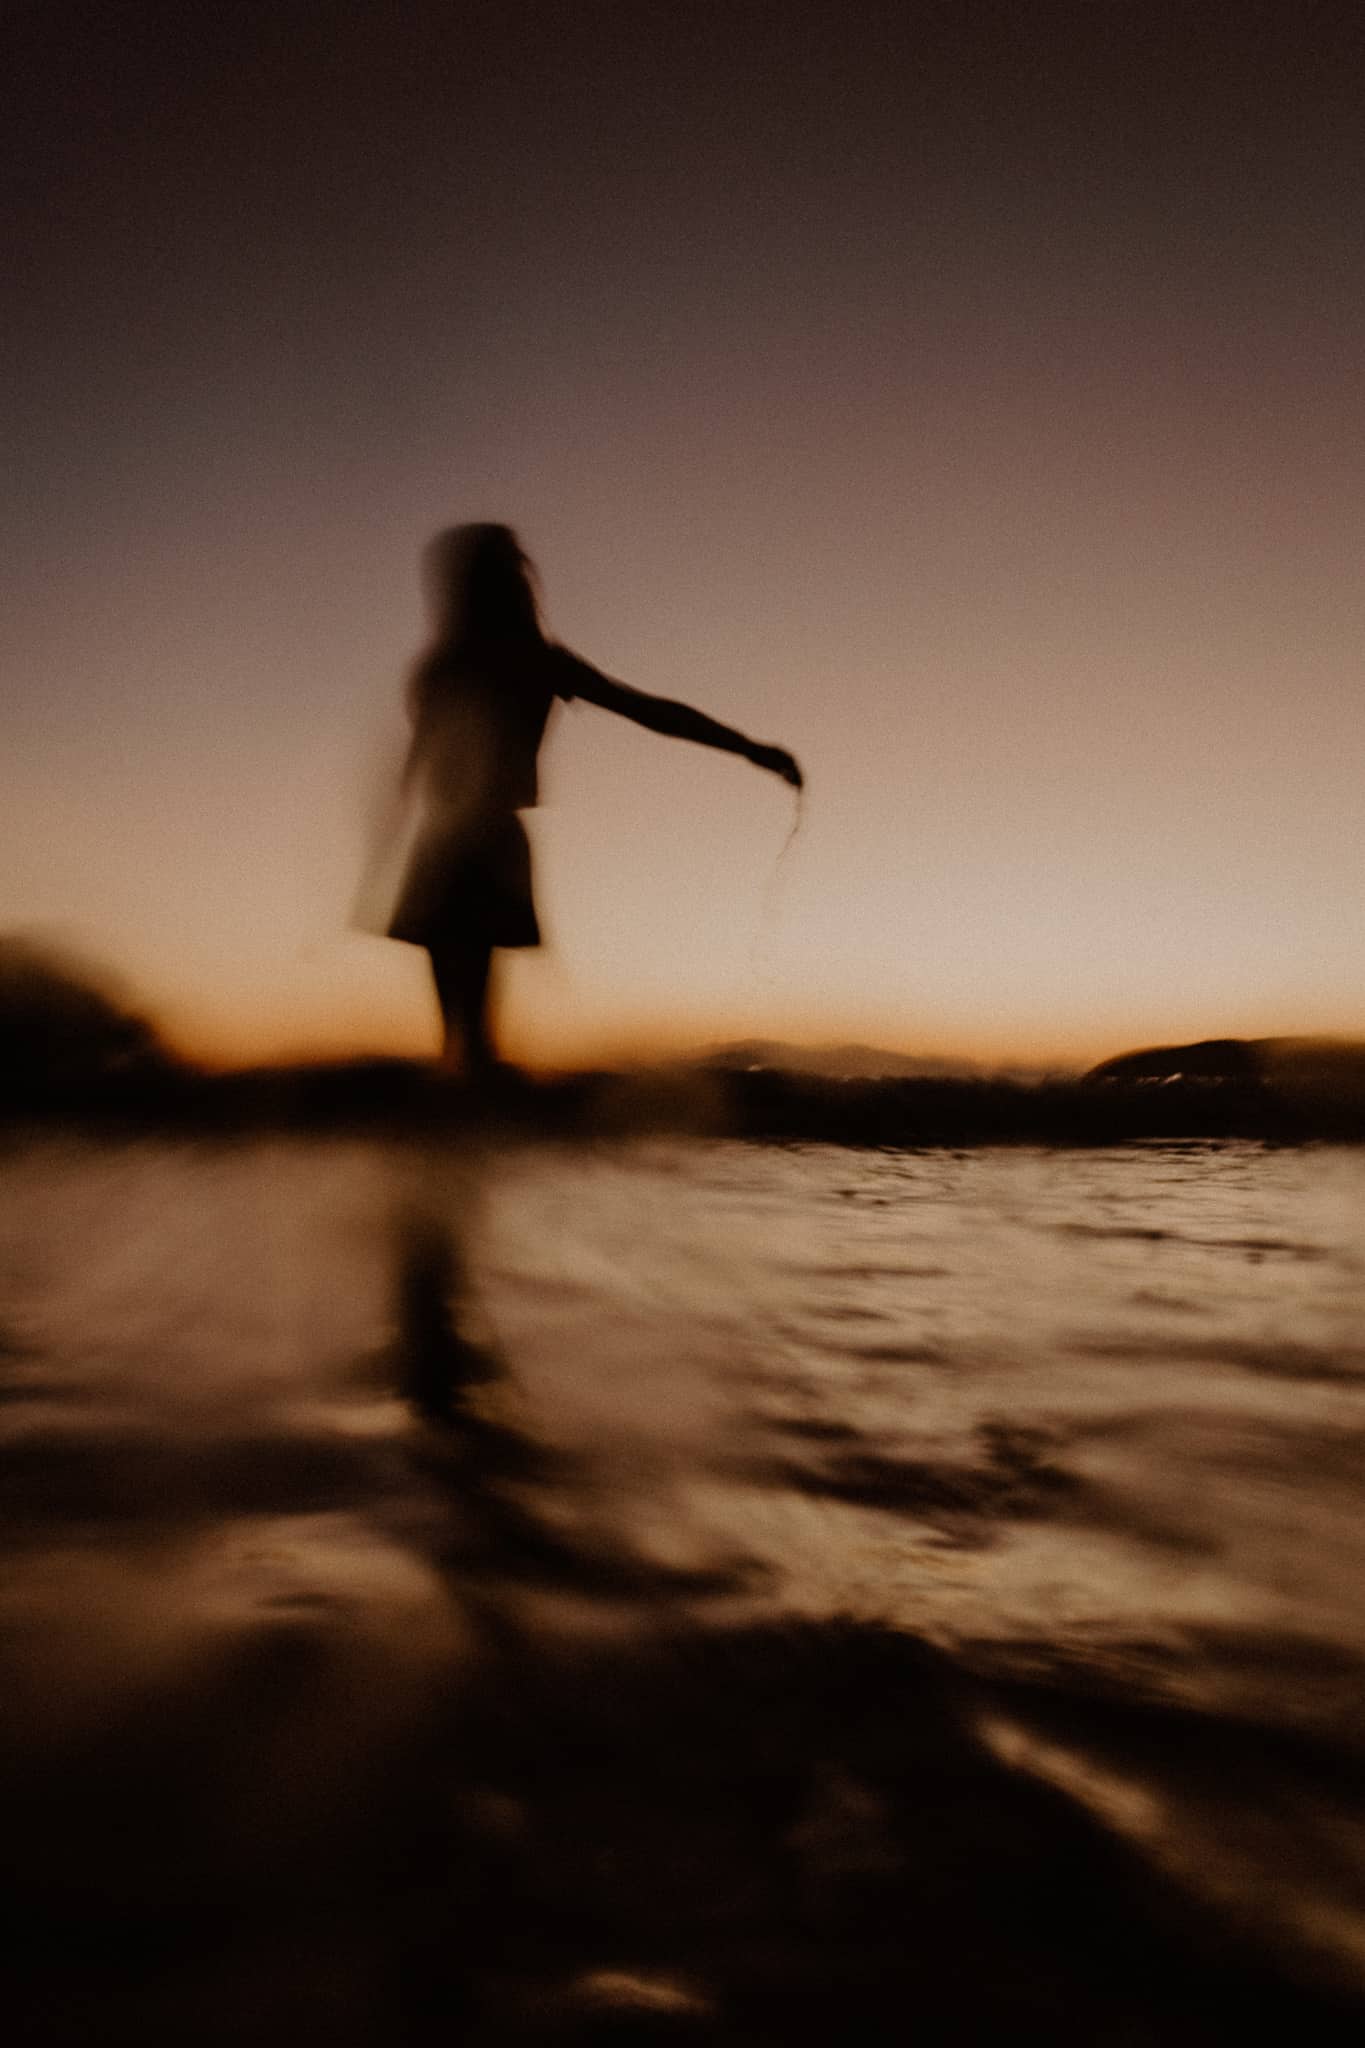
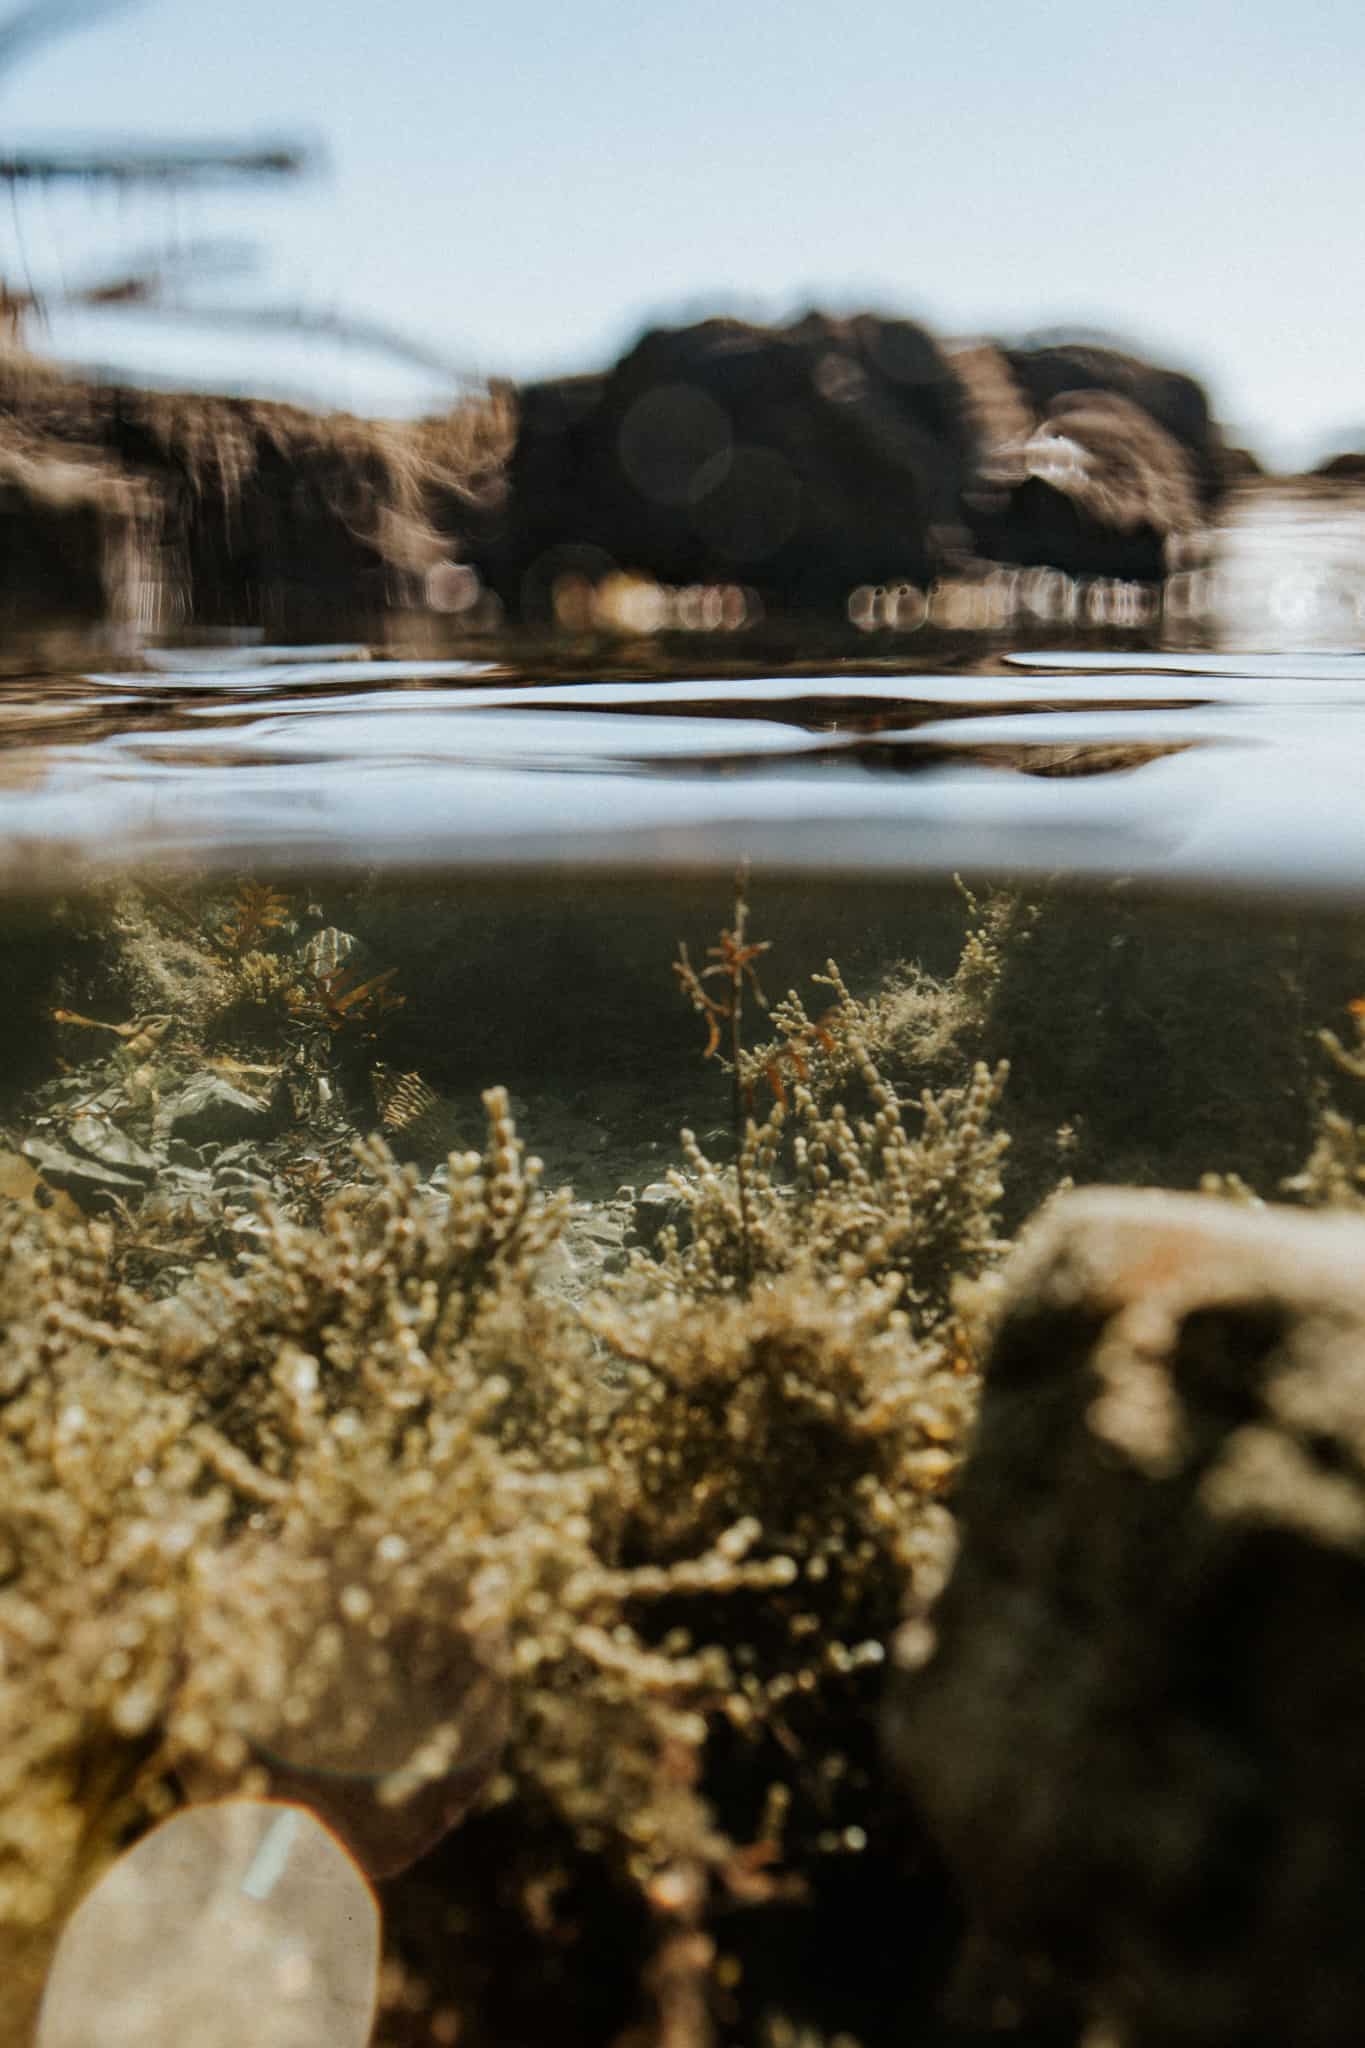
Matt’s set up was a Sony a600, a 16-50mm 3.5-5.6 lens and a Seafrogs UW housing. Below are my very first shots on his rig.

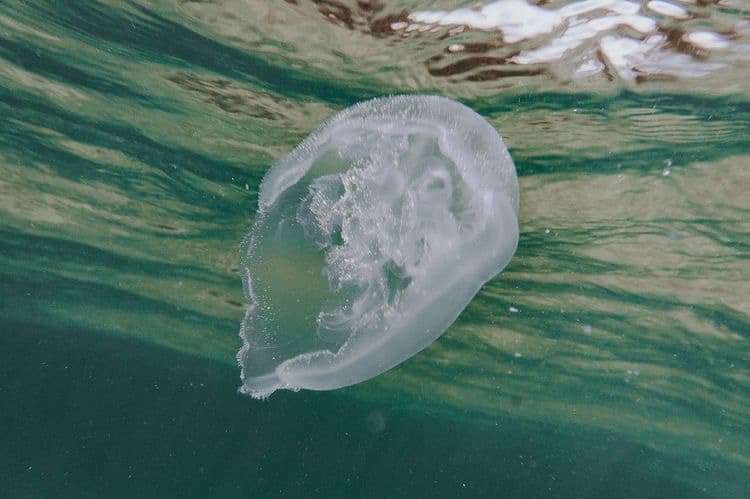
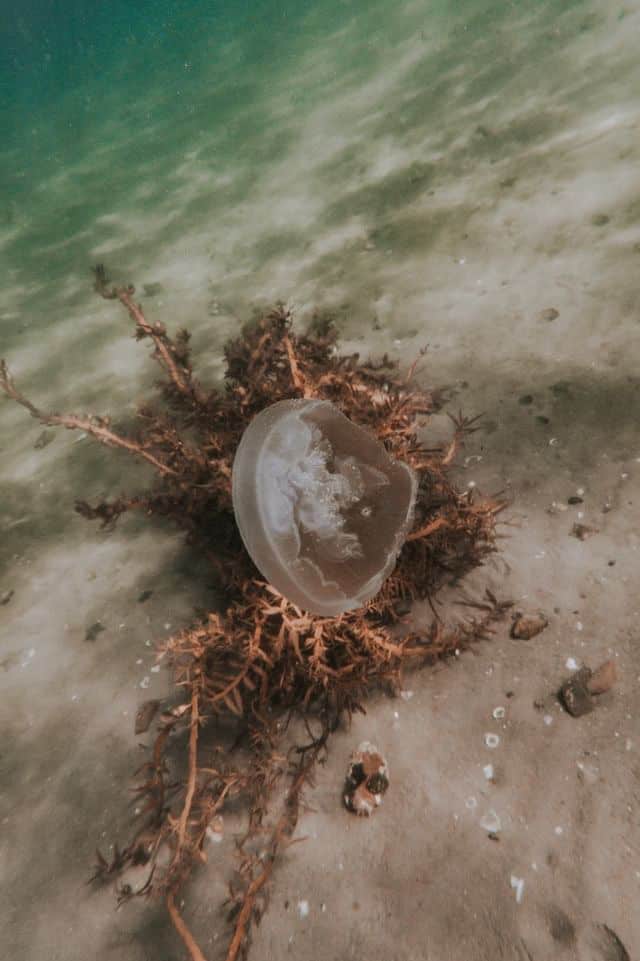
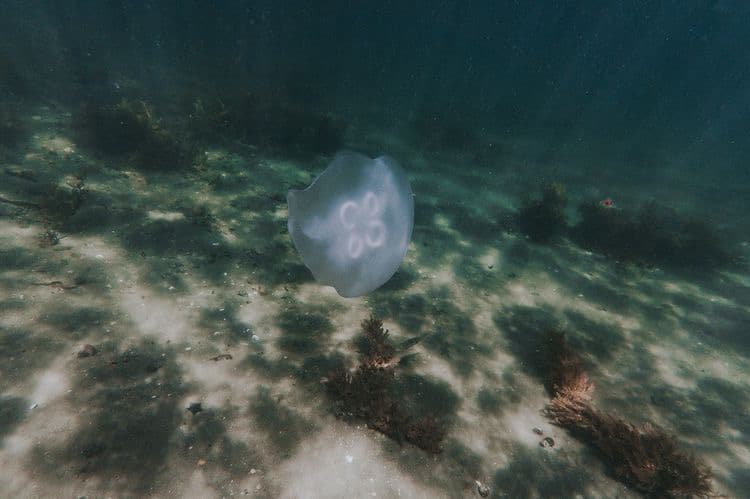
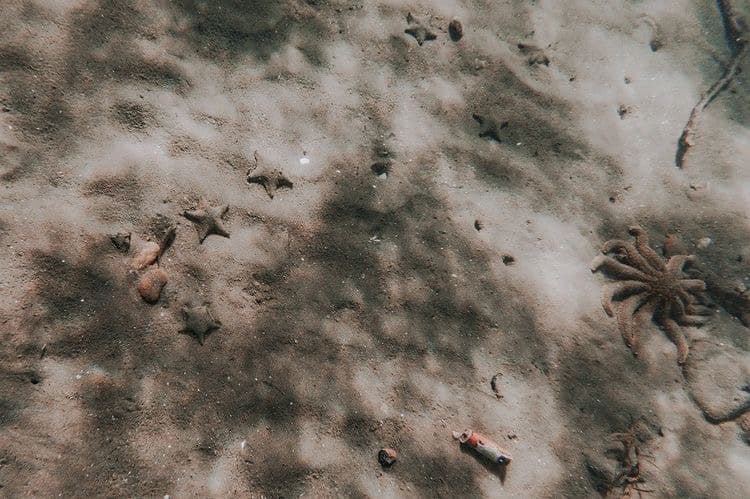
I was surprised I got anything usable at all. And to be frank, these won’t stand up to scrutiny – I mean it when I said I was flying blind. I walked away from this shoot frozen, invigorated and motivated to get better now that I had a realistic expectation of just how much practice I’ll need!! Eeeeeeeeeeek.
Time to tell you what I bought.
what i bought
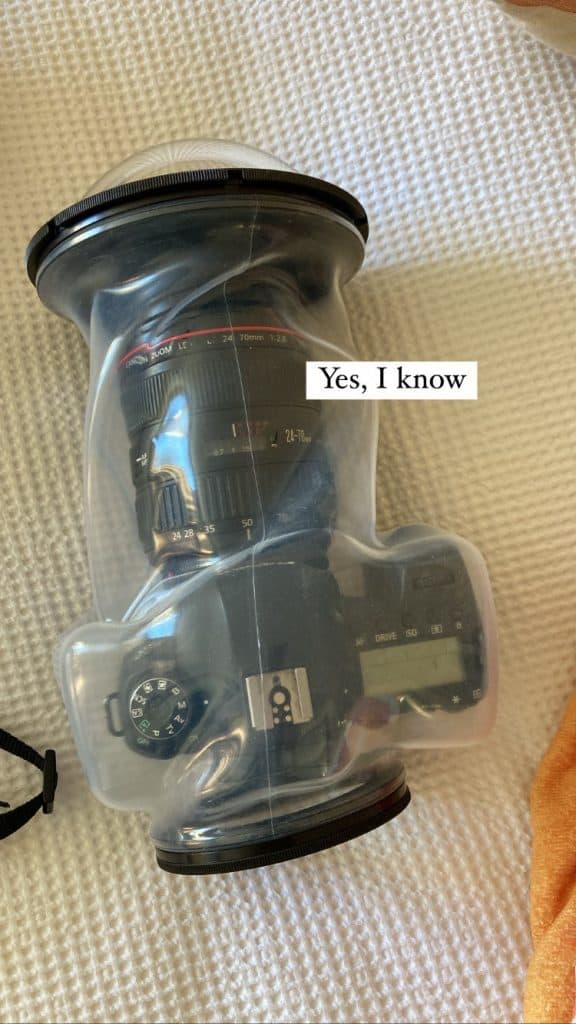
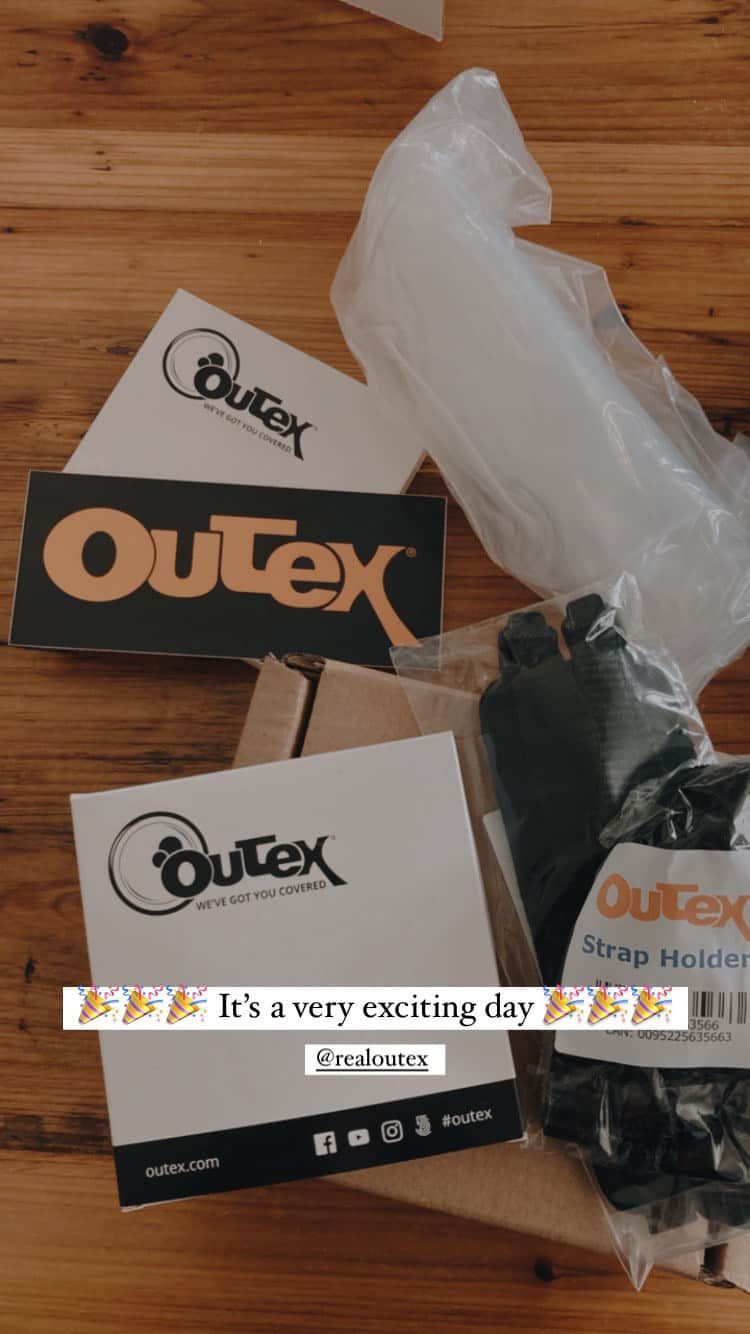
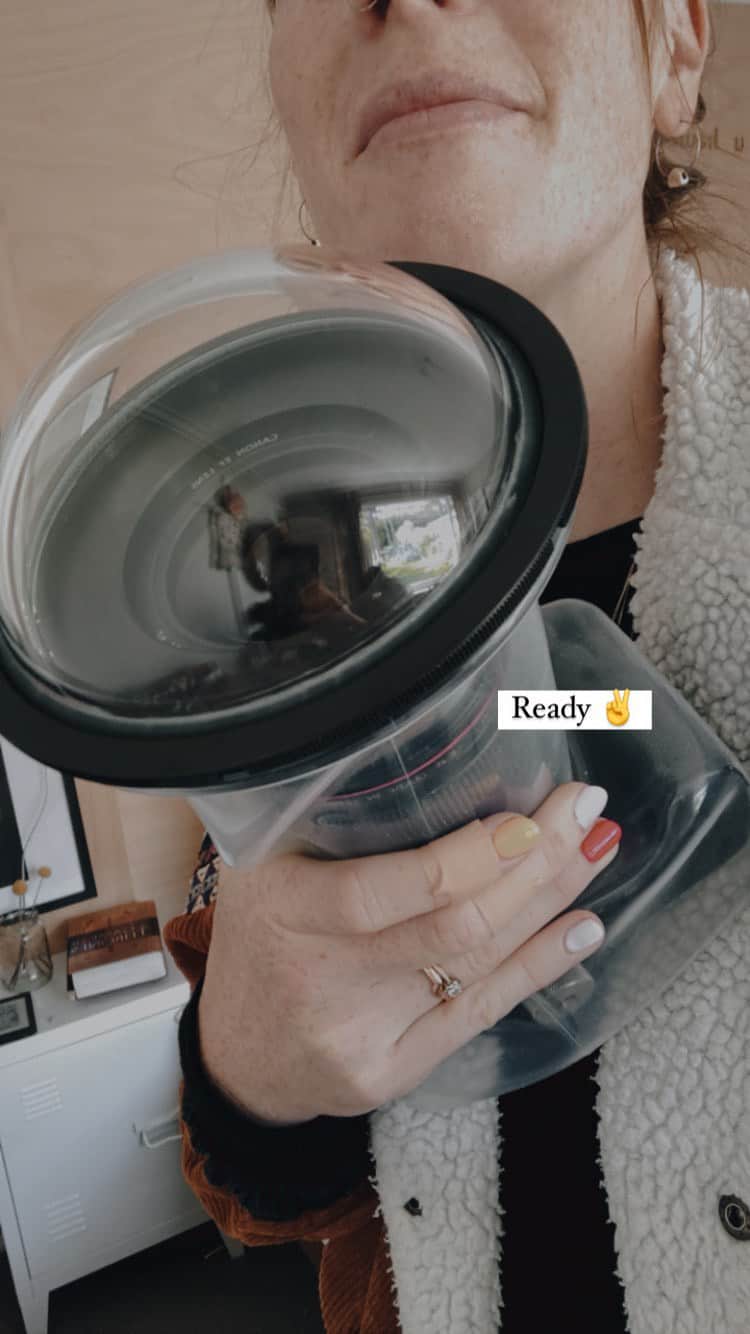
I bought the Outex Pro kit with the Dome port 120mm add on and a couple of step up rings for my various lenses.
why i chose outex
I did my research guys. I mean, really. I don’t think any one housing is perfect for all requirements but this one excited me the most.
I didn’t want a hard case because I have 2 different cameras. The 6D is my preferred photography camera. My Sony though is a beautiful, 120fps capable filming camera and I didn’t want to limit myself to the 1280×720 60fps 6D video capabilities.
My requirements are that it fits within my yearly expense budget (newsflash, it’s small), it can take multiple lenses (specifically the lenses I already own) and lastly if possible, that it would fit multiple cameras. Outex is the only one I know that can do that.
But then…it’s basically a camera condom. Soooo…
I watched every single video on you tube about this housing. All the videos from the brand itself as well as all the reviews. I watched a bad review where the perspex ripped, but it was several years old and they’ve made significant improvements since then. But here’s what tipped me over the edge, the push I needed to actually buy the damn thing.
Instagram!
The best research I did was scour Instagram using the hashtag #outex to find who was actually using the product, and then crept into their DMs to see if they’d answer my questions. This was invaluable!
I talked to a family photographer in the US, an ocean photographer in AUS named Ryan and a mermaid portrait photographer also in the US. They answered all my questions so I could make sure I got the right set up for me. IN-VAL-U-ABLE. I’ll put this is the follow up post.
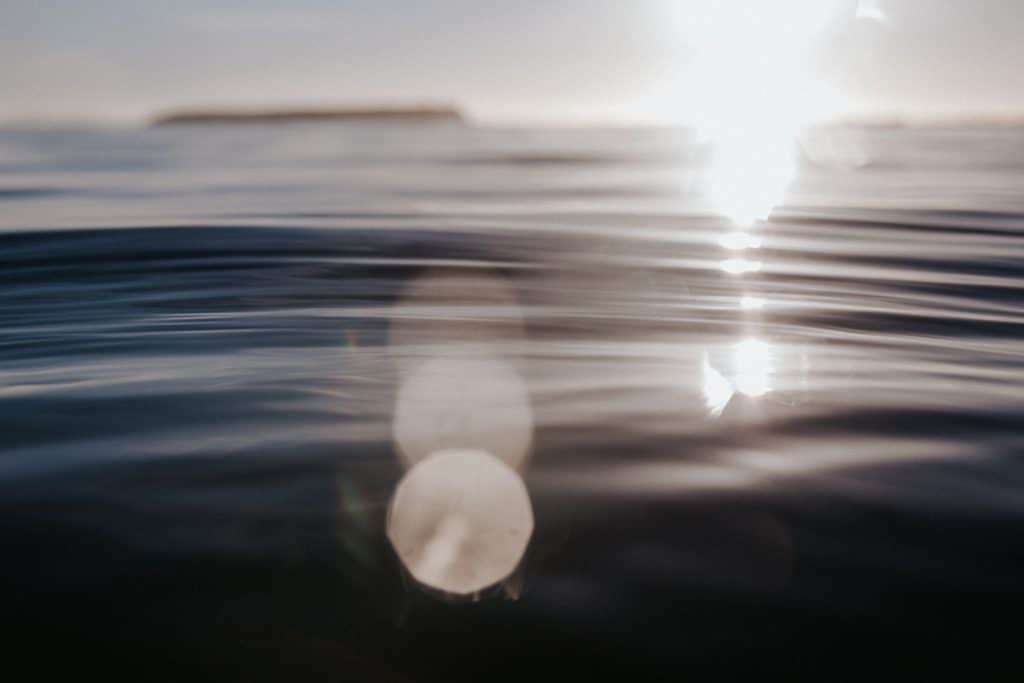
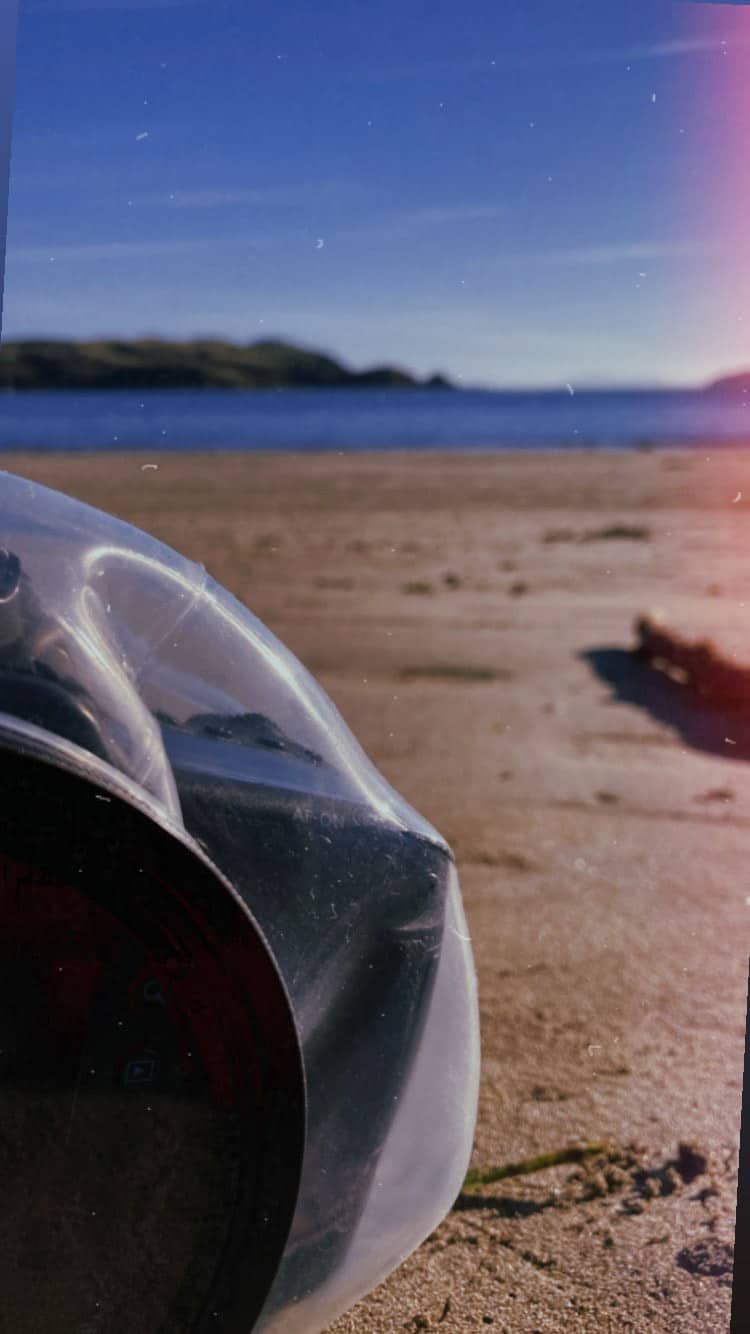
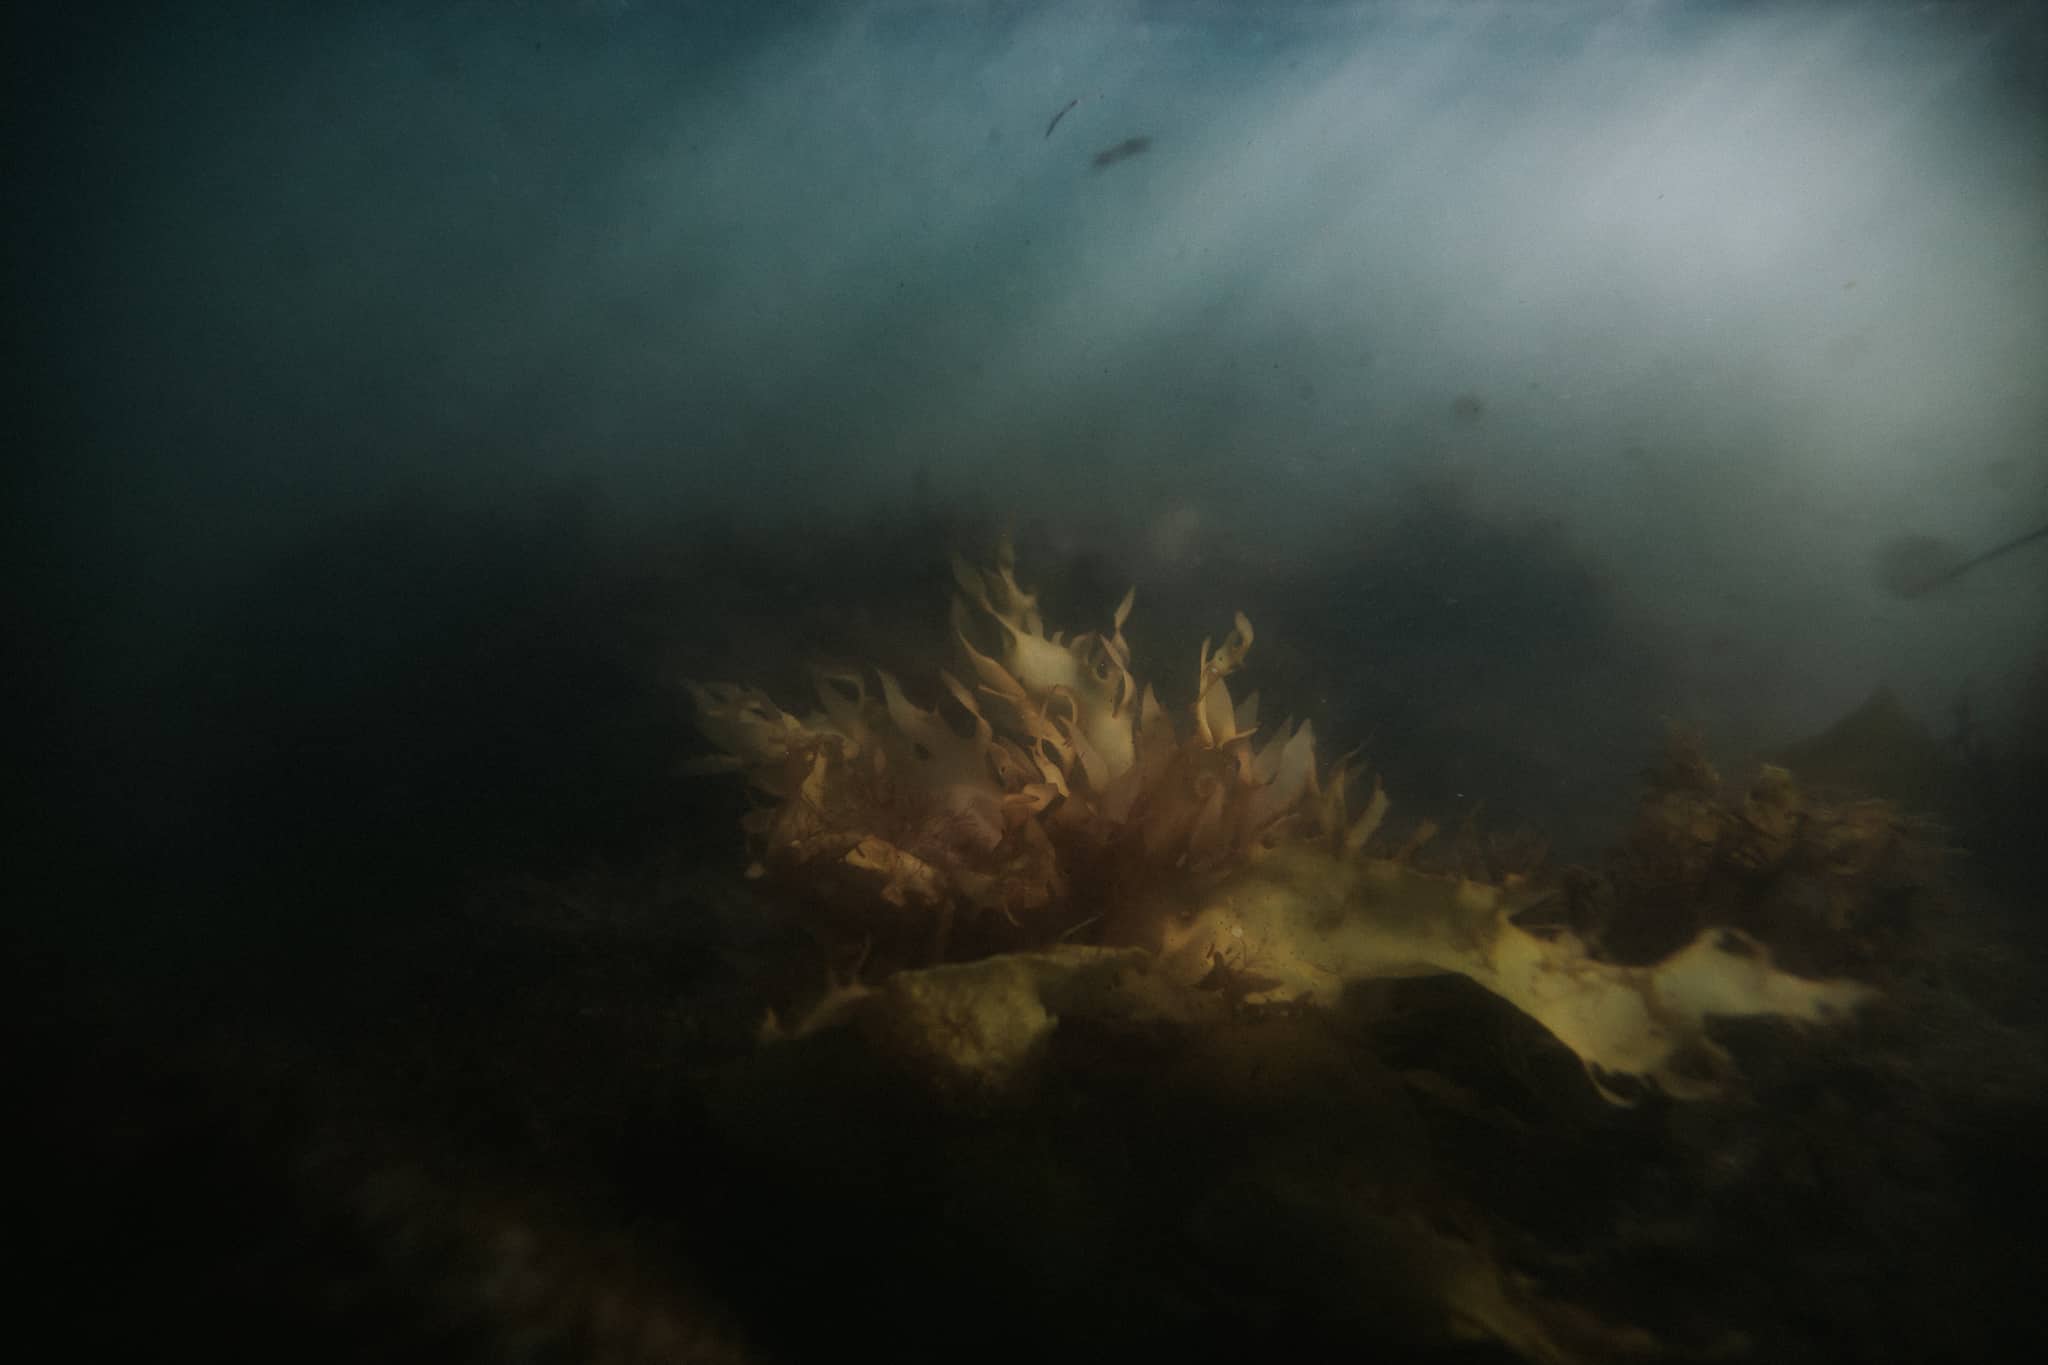
Below are my first tests.
24mm Flat port:
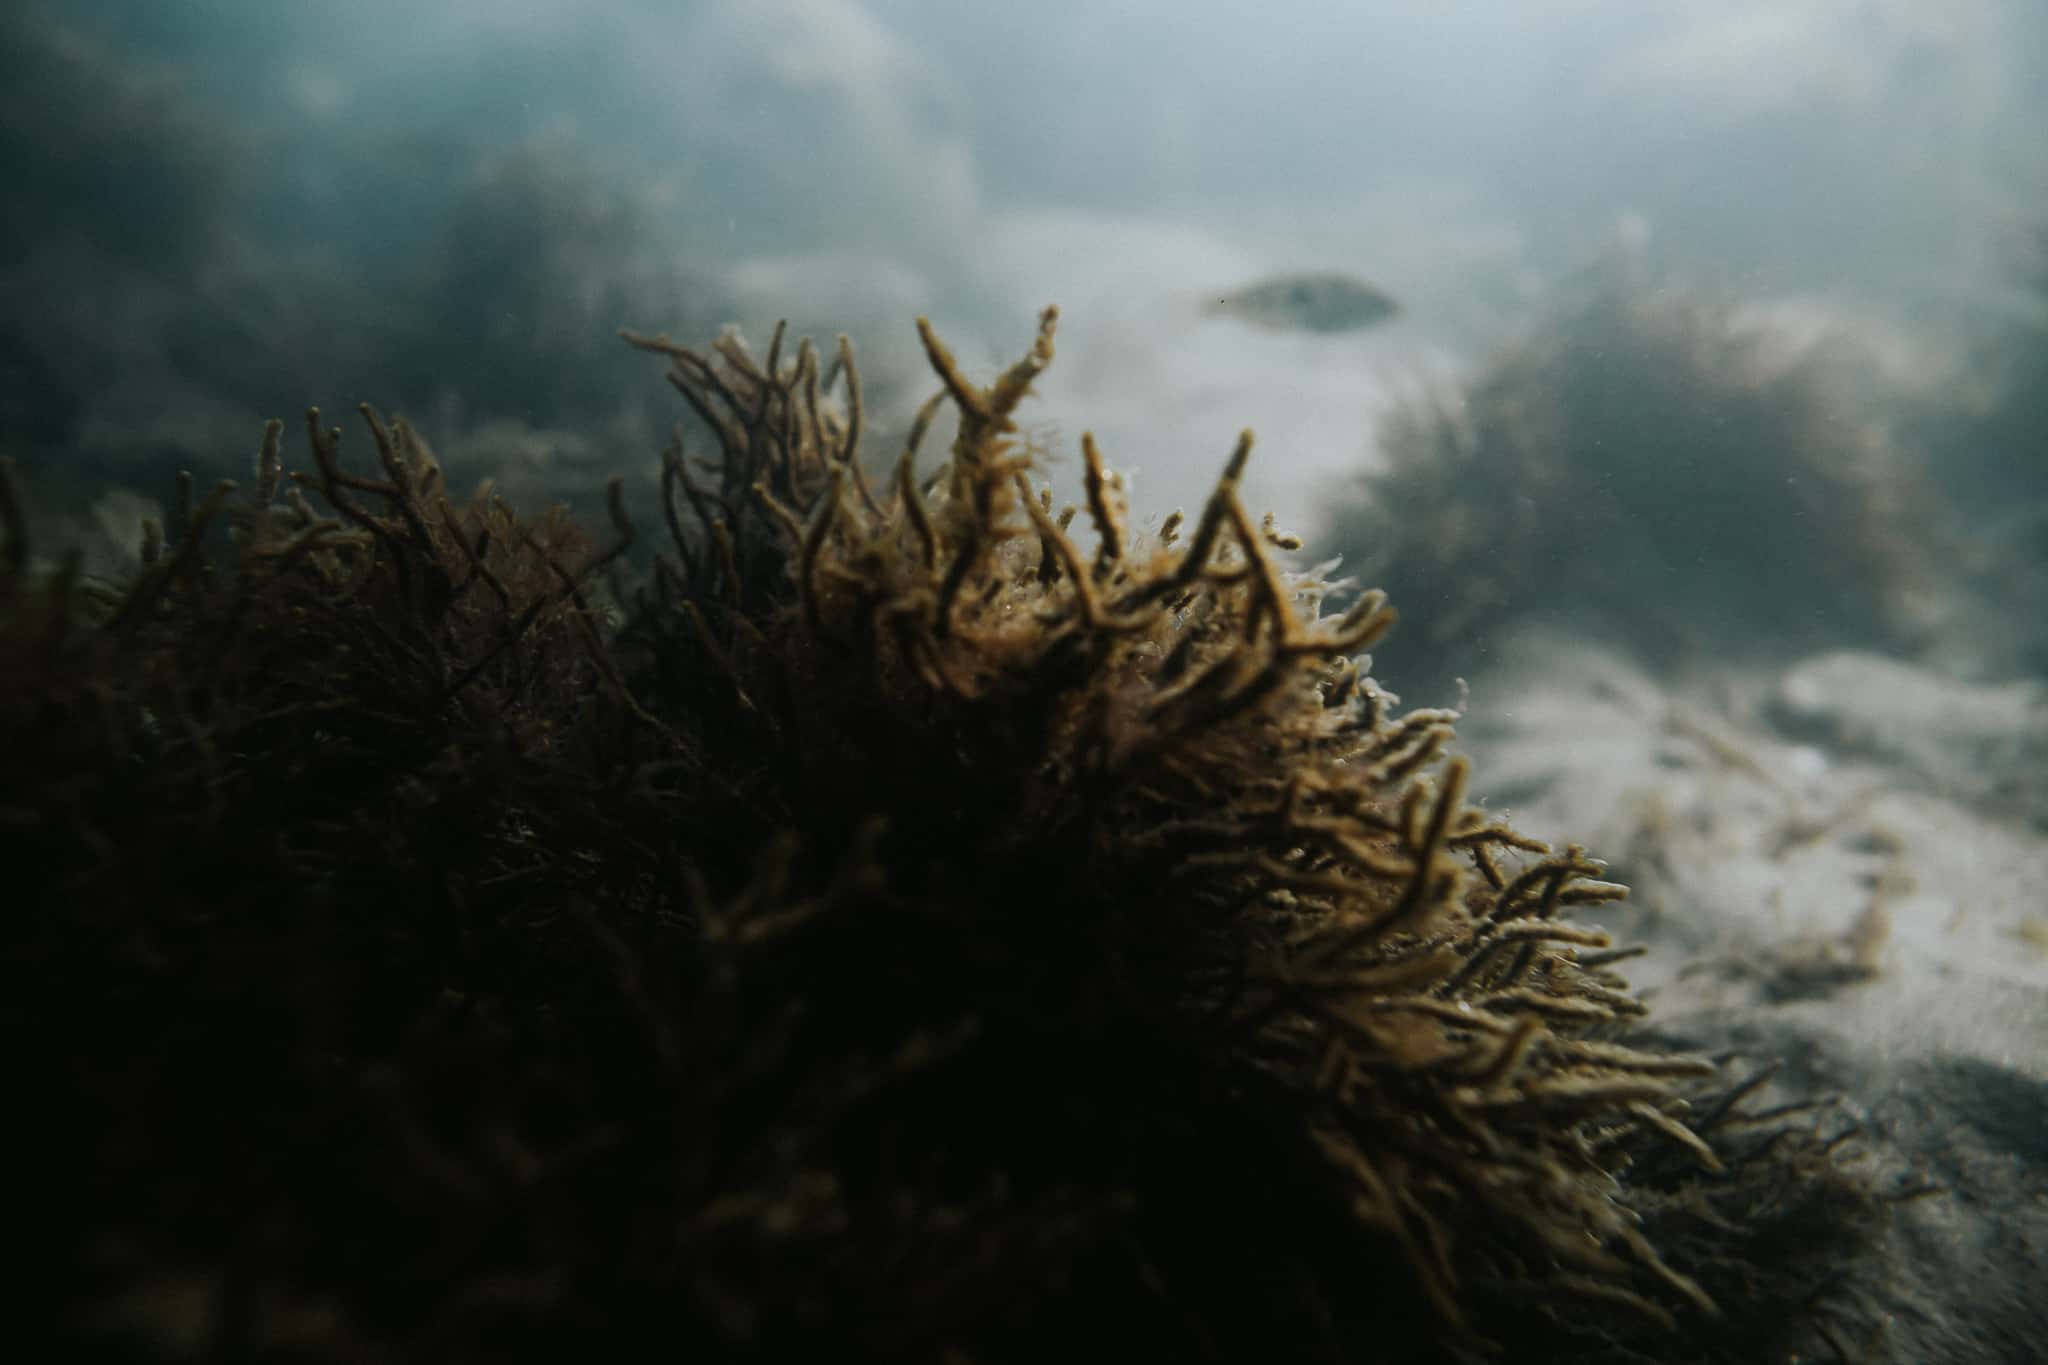
Dancing Rose – 24mm Dome port / Ocean pix 24mm Flat port
24mm Dome port
wrapping up part I
As previously mentioned, I sold my Sigma 85mm for $800 which contributed to this housing. Altogether, with the 2 step up rings, the Dome 120mm and the Pro kit, it cost me roughly $1400 NZD.
This post is getting really, really, really ridiculously long so keep posted for part II and PLEASE ask any questions you like! I’ll do my best to share my limited knowledge through my limited experience 🙂 Message me here.